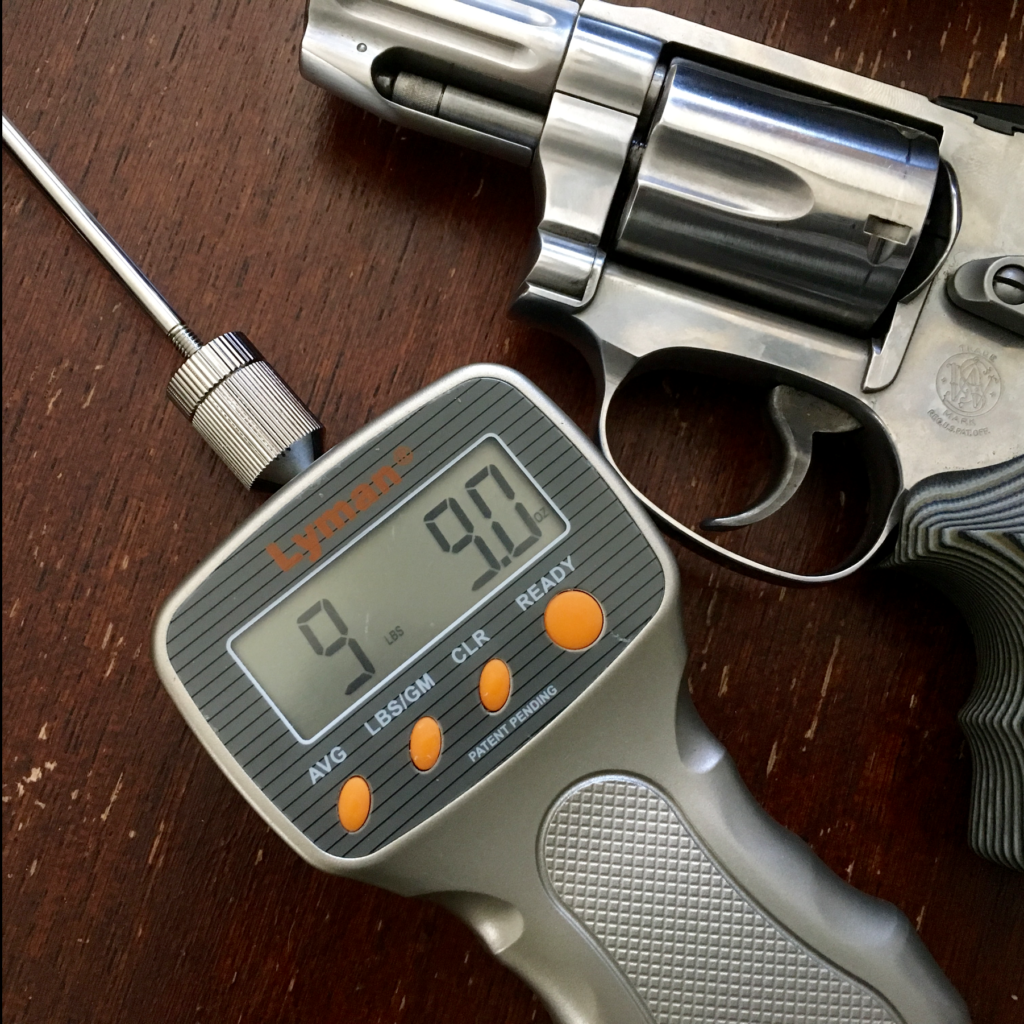
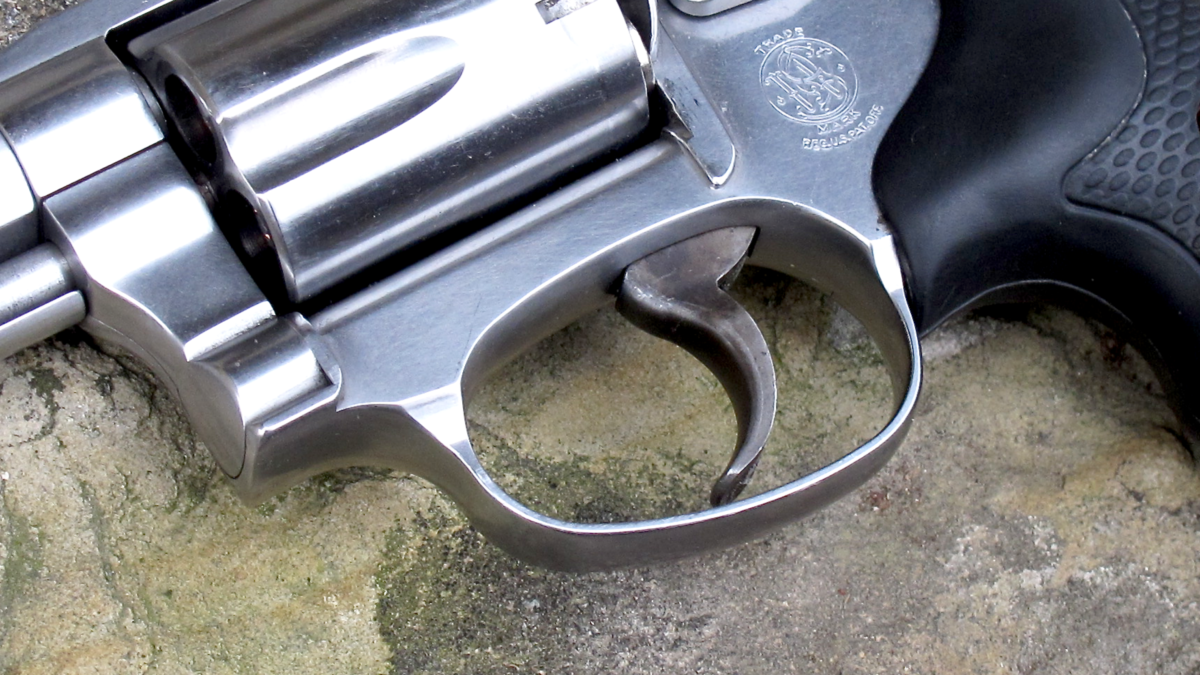
When I initally pulled my 640 Pro Series out of the box I was in love. That feeling only lasted until the first time I pulled the trigger. Even though this is a Pro Series gun, the trigger was abysmal (read: about average for a J-Frame). Attempting to test its weight on my Lyman trigger pull gauge was futile. I received the dreaded “overload” message; the trigger pull exceeded the gauge’s 12-lb capacity. Needing badly to lighten it, I purchased the Apex Duty-Carry Spring Kit from Apex Tactical Specialties.
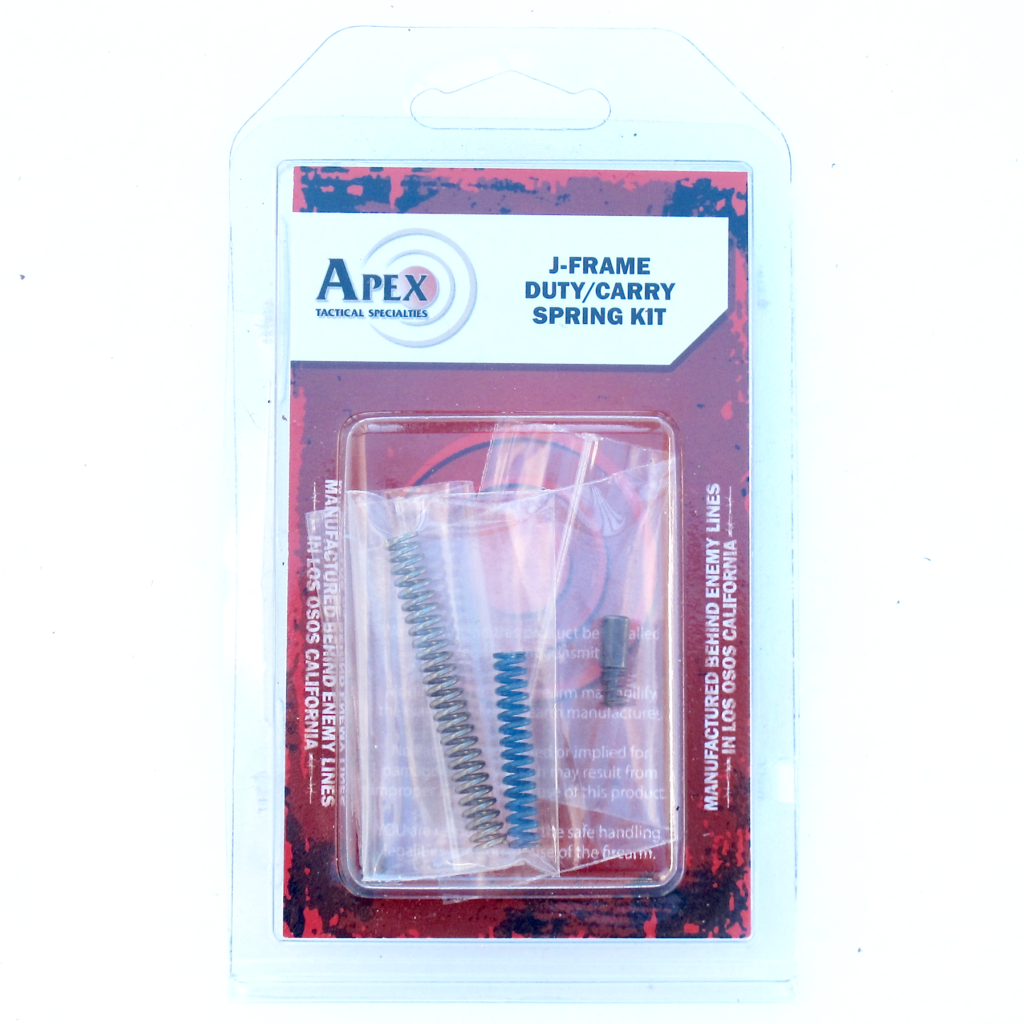
Apex Duty-Carry Spring Kit
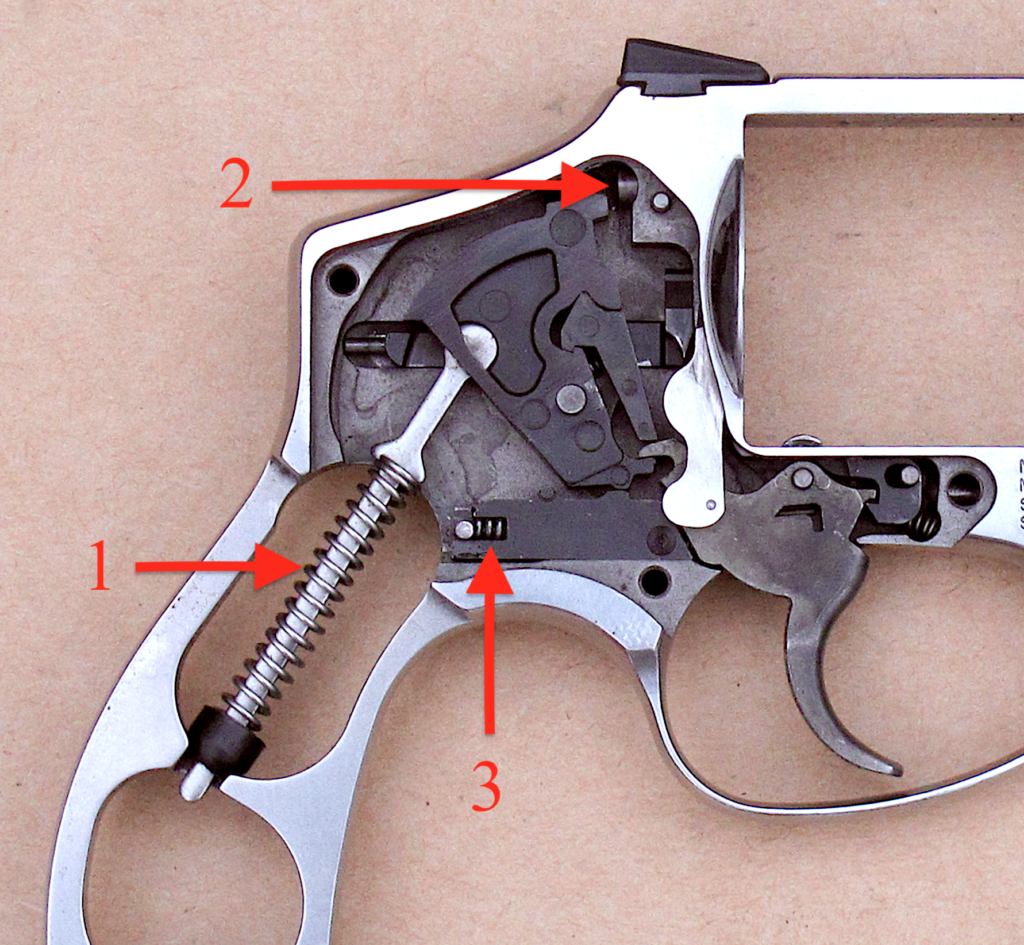
The Duty-Carry Spring Kit contains four parts: a reduced-power mainspring (1), Apex XP firing pin and firing pin return spring (2), and rebound slide spring (3). All of the parts are drop-in. Installing them requires that you remove the side plate and swap out the parts to be replaced.

If you’re comfortable disassembling a J-Frame you should have no problem installing this kit. If you’re not, I highly recommend the Gun Digest Book of Revolvers: Assembly/Disassembly. Apex also has two videos that cover the installation process here and here. The process will take 20 to 30 minutes and requires to specialized tools, except a paper clip. Make sure you have a small paperclip on hand. Seriously.
After installing the Apex Duty-Carry spring kit, the trigger on my 640 Pro comes in at a very reasonable and fairly smooth 9 pounds, 9 ounces. In addition to being lighter, I also believe it’s also smoother, though maybe that is just a matter of perception or the result of the proverbial “1,000 round trigger job“.

The movement of a revolver’s internals against each other smooth rough edges over time. Over more time this can cause the trigger to become very nicely broken in and, (at least in some cases) buttery smooth. One imagines that many J-Frame triggers are never shot enough to be thoroughly broken in. This may go a long way to making these triggers more manageable but it does nothing to actually lighten them.
The Verdict
After installing the kit I ran a basic function check and headed to the range. I was really excited to see what happened. So I set up and drew my revolver intending the fire the cylinder of carry ammunition it contained. Somewhat anti-climatically, only four of five rounds in the cylinder fired. One was a light-strike (the ammunition was Winchester PDX-1 .38 +P). This was a blow to the confidence I had placed in my chosen carry gun/ammo combo, but I kept going.

After a couple of hundred more rounds with no further incident I was feeling better. After roughly 1,100 rounds since I am feeling about as confident as one can be in a sidearm. Despite the initial hiccup, the Apex Duty/Carry Spring Kit is the best $25 I’ve spent in a long time. I believe this to be a must-have item for any J-Frame owner. As with any modification, make sure you test it with your chosen self-defense ammunition.


I know this is late to the game but nice review. I recently purchased a S&W 442. My initial trigger pull was around 11.5 lbs. Based on your post, I installed the Apex kit installed and the trigger pull is right around 9.5 lbs. That and a ton of dry firing and trips to the range has really improved the trigger.
Initially I took your 20-30 minute to complete the swap with a grain of salt but you were dead-on; I was able to complete the install in 25 minutes (Apex’s videos were spot on). To others that might try this swap, I found this tool to be very useful to remove and install the new rebound slide spring: http://www.gunsmithertools.com/smithmaster-trigger-spring-/index.html
Ryan,
Thanks for the feedback! I’m glad to hear my time-estimate was accurate; I’m definitely not the handiest guy with delicate tasks (think “framing carpenter” rather than “finish carpenter”) but I didn’t find this hard at all. I’m glad you got good results, too. I’d love to see S&W partner with Apex, on both the revolver and semi-auto side.
Thanks again (and thanks for the tool tip, as well),
Justin
do you know what pound the rebound spring is in that kit? I was thinking 13 but i bought an 11 pound from wolf and it looks to be the same wire gauge but longer and the coils spaced further apart…. the revolver trigger feels ok but really no difference… so I am thinking the rebound spring in the Apex is 12?
The Apex kit is the single best money one can spend on a J frame. It unlocks their potential as workable and accurate weapon. The only good that can be said of the factory springs is they are good for strength training. Do 100 dryfire reps every day for a few months, put in an Apex, and you’ll think it’s too light (I did). I have never experienced any failure to strike the primer sufficiently, even with hard CCI primers. I now carry federal, the softest, so I don’t worry.
Just installed the apex carry duty spring kit in my 340PD , went to range today fire around 100 round with 1 light primer strike, kinda concern but I’ll test for another 500 round and see if this issue still happens, thanks for the review.
Dexter,
Your ammo choice probably matters some in this assessment. I’ve had issues with some ammo but not others.
Justin
Save yourself a headache and grab a clear sandwich bag and put the firearm inside the bag with the spring and rebound part. Close the bag and poke the tool through the bag and do the work. The spring etc. stay in the bag if you lose it and not in your neighbors front yard.