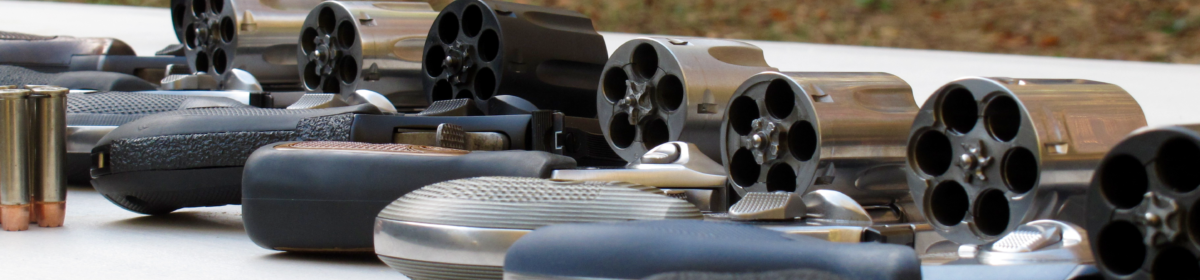
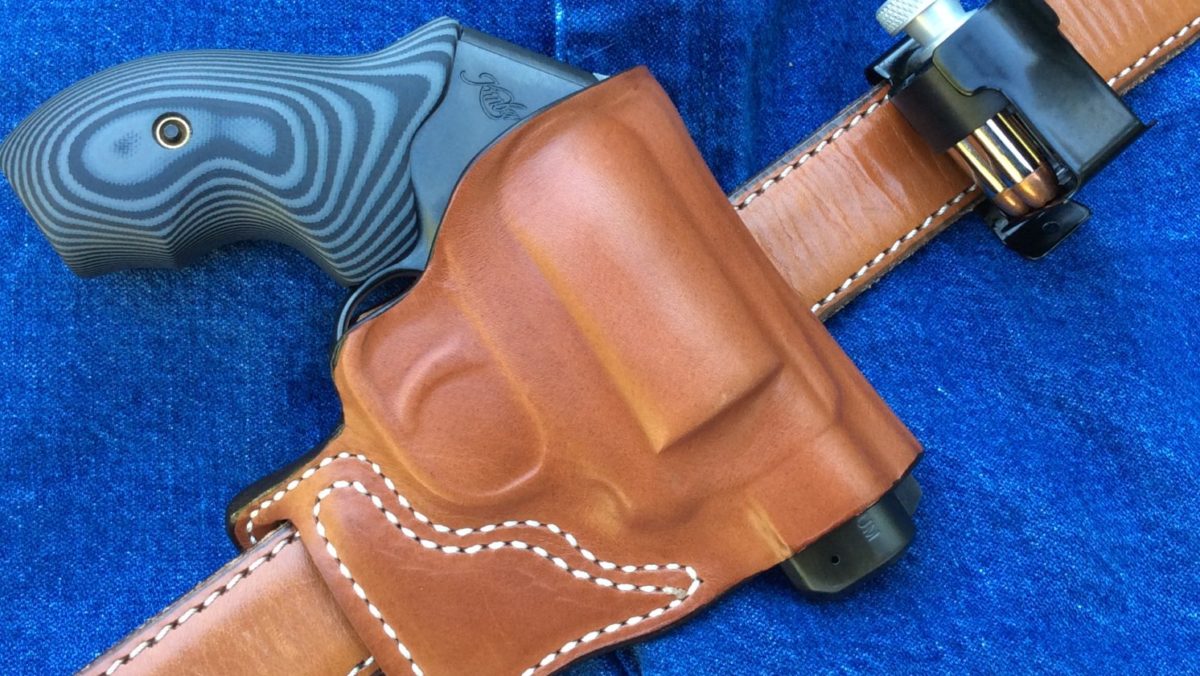
While I love the appearance and other qualities of a good leather holster, I must admit that the “kydex crowd” enjoys some significant advantages that the hide stretchers don’t.
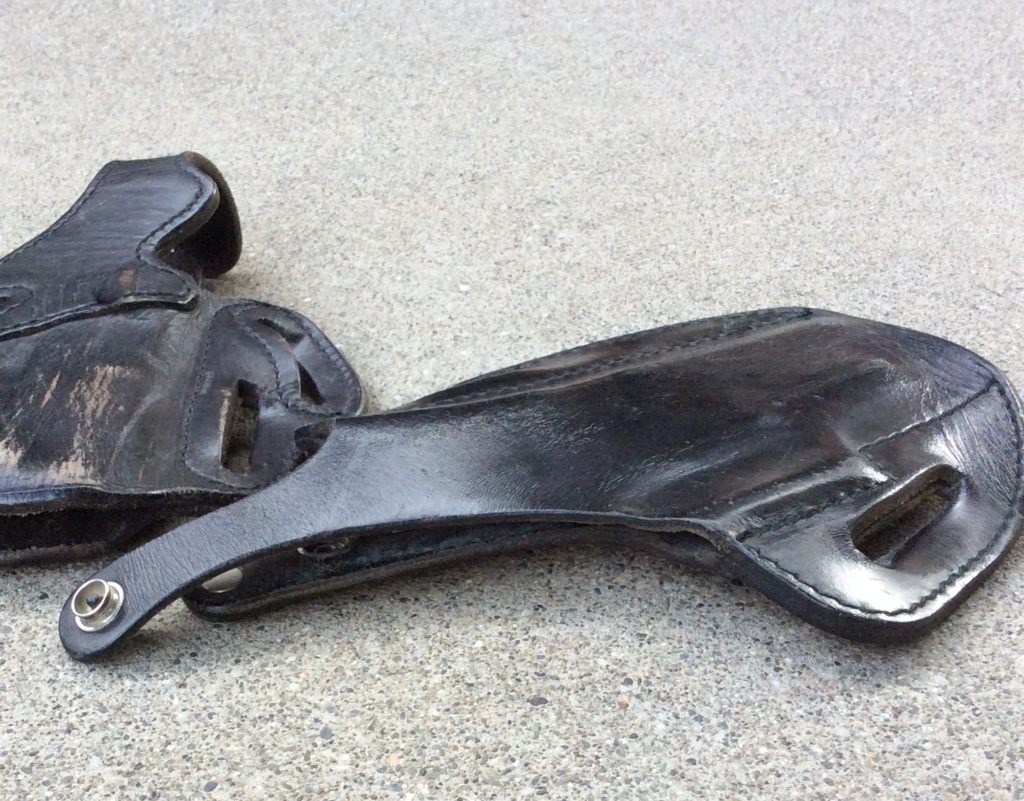
One of the greatest benefits of a polymer holster is the elimination of a “break in” period. Quality leather holsters are usually built tight from the start, with the understanding that the leather will stretch over time to accommodate the shape of the gun. If the holster is built too loose from the get go, then the gun’s fit will be sloppy and retention will suffer. Also, the holster will break down faster as the body gets crushed and creased.
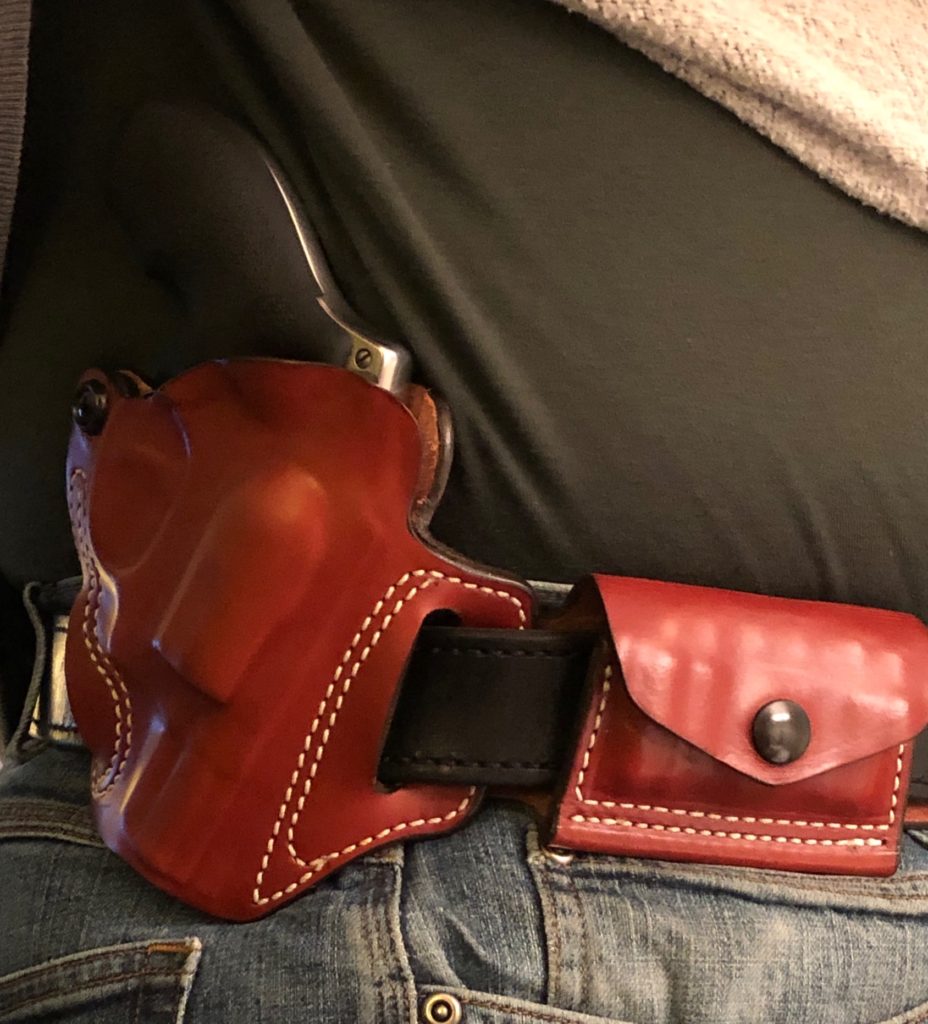
So, leather is built on the tight side, and that means it can be difficult to draw and reholster the gun, or secure straps, on a new rig. It also means that the holster can squeak as you shift around and the leather gets broken in (the belt loops often make noise, but the pouch can as well).
To alleviate these problems, many shooters try to accelerate the break in period using various means. This isn’t a bad idea, but some caution needs to be exercised to prevent ruining the holster. If you do it the wrong way, you can damage the leather and sacrifice the retention, durability, and appearance of that beautiful new holster.
Water buckets and other crimes
The old school gunwriters talked about soaking their holsters in water, then stuffing their oiled guns inside and letting the leather dry. This method can certainly stretch the leather out quickly, but its downsides outweigh the positives. The water can damage the leather and cause it to soften, wrinkle, stain, and stretch too much. It can also strip the layer of wax applied to the outside to preserve the hide and give it a nice sheen.
If it’s not dried properly, the leather can mildew or rot, and so can the stitching, depending on the material used (most manufacturers are using nylon thread these days, but you might encounter linen). The water can also cause metal reinforcements and snaps to corrode.
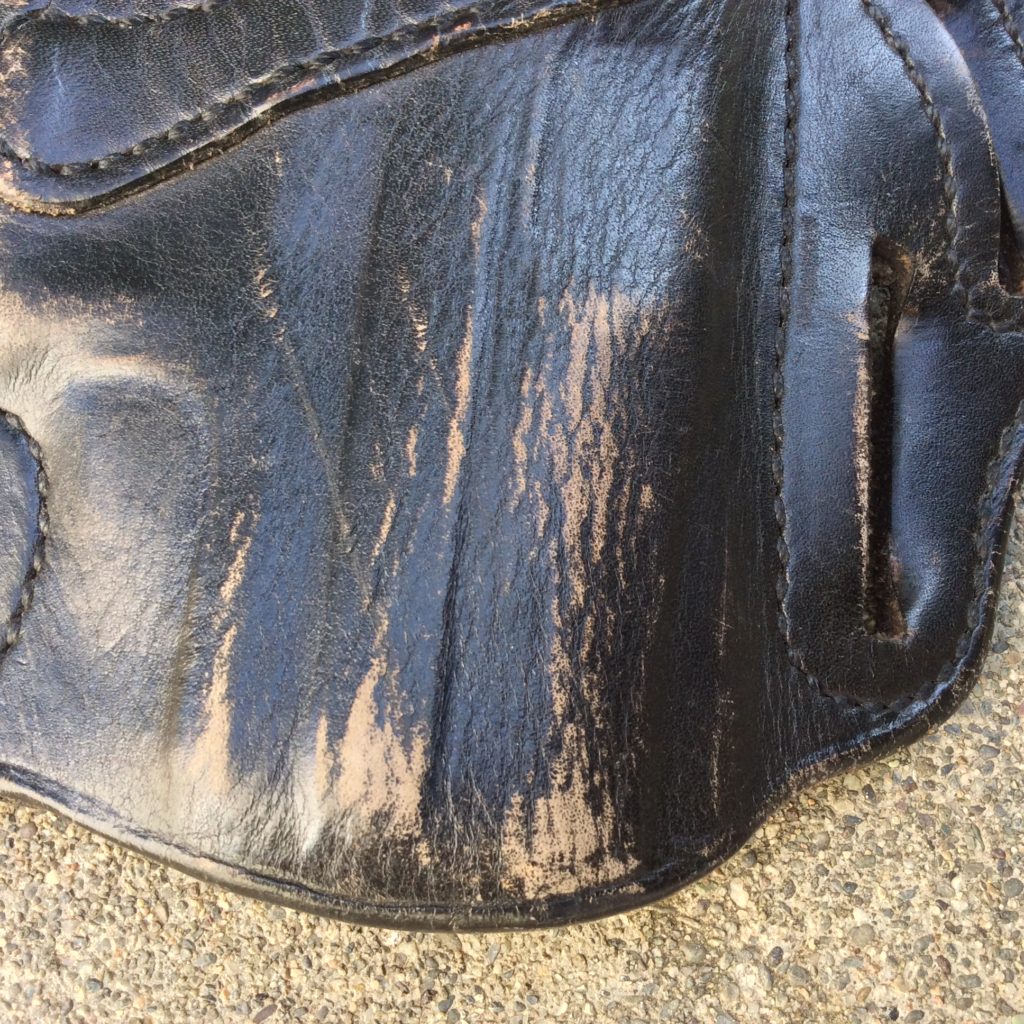
I’ve seen a number of good holsters ruined with this method over the years. Once, when I was going through training, one of my classmates convinced a group of our fellow trainees to try the method. They were thrilled with the results at first, but it didn’t take long before the damage became evident. The nicely-boned pouches grew sloppy and began to lose their shape. After they’d been in service for a while, the leather softened and broke down to the point that the pouch collapsed when the gun was drawn. The wrinkled leather lost its shine and color, and generally looked awful.
I’ve seen holsters ruined by the application of oils as well. Leather is porous, so it readily soaks it up. When it does, the oil will stain and soften the leather, and it will also attract more dirt. An oily gun or hand (from cleaning the gun, perhaps) might be the source of contamination, but sometimes a shooter will intentionally oil the leather to “waterproof” or “preserve” it. This is always a bad idea. If your goal is to weatherproof a holster, you’re better off using a paste wax to do it.
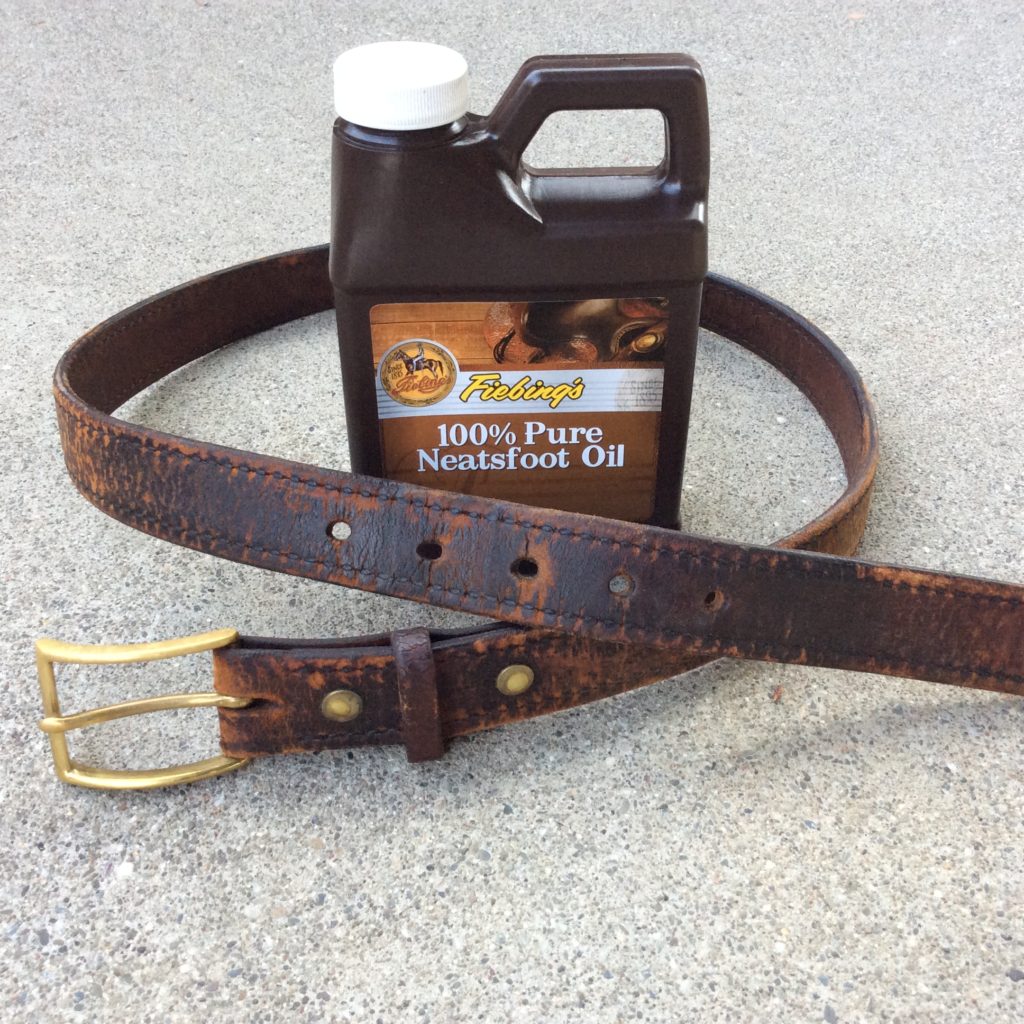
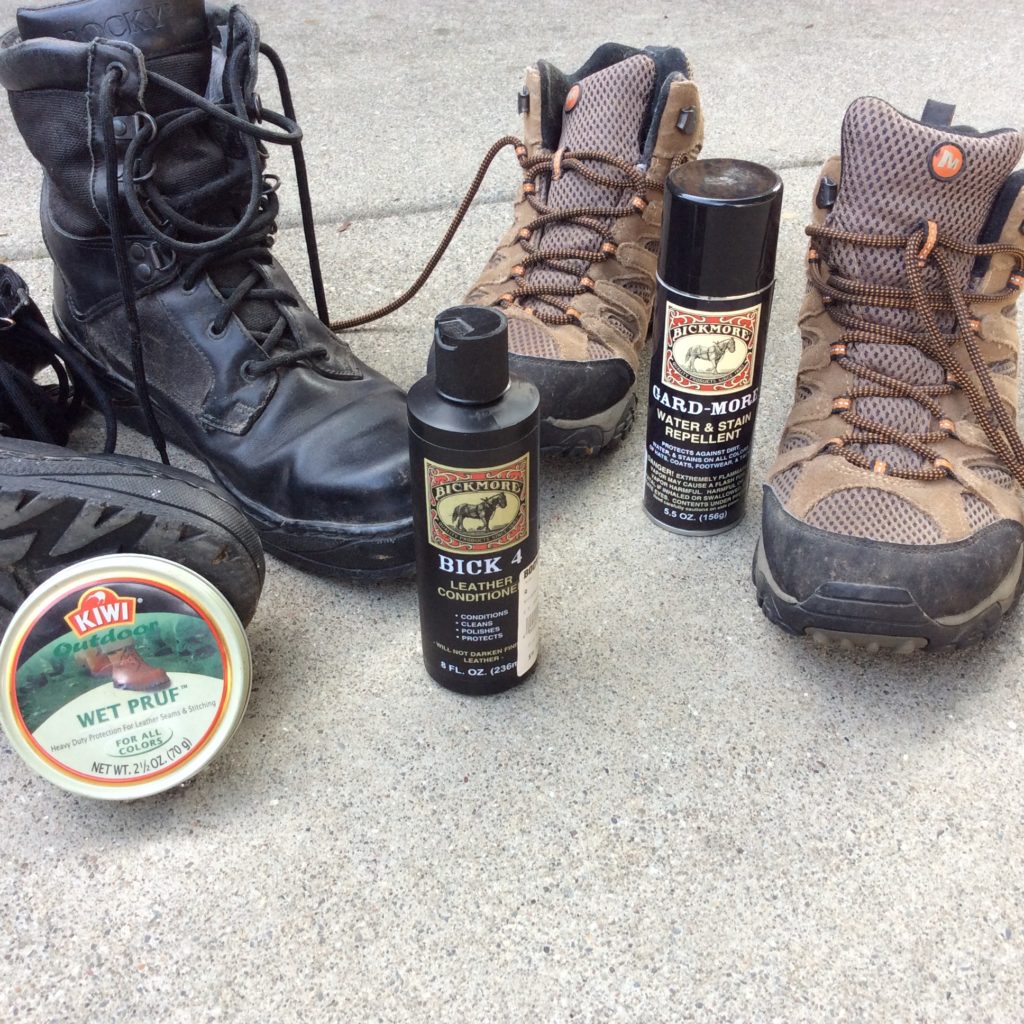
Your holster is leather and your boots are leather, but that doesn’t mean you can treat them the same. You can coat your boots with dubbin or silicone to weatherproof them and it doesn’t matter if it softens the leather—actually, it makes them more comfortable to wear! A holster though, should be kept dry so it can maintain its shape. A broken in pair of boots is a good thing, but a broken down holster is not.
What you can do
There’s a few things you can do to improve a holster’s fit without ruining it, and I’ve tried all of them over the years. If your holster fit is a little tight, try one of these solutions:
1. The Elbow Grease Method. Work the unloaded (!) gun in and out of the holster repeatedly to smooth the contact points and stretch the leather. Triple-check your gun is unloaded first, then plop down in front of the TV to watch a good show and get to work. You can complete a lot of reps in an hour’s time. Your holster will fit better and you’ll get a good workout too.
For best results, do this with the holster off your belt at first, then work your way up to threading the holster onto your belt for the drawing and reholstering. When the holster is on the belt, the belt loops can pull the pouch taut and increase the tension on the gun, so get a head start while the holster is off the belt, at first;
2. The Polishing Method. Use some very fine sandpaper to smooth out the contact points which are causing things to bind. Wrap some paper (I’ve used 1200 grit, but you can go higher) around a popsicle stick, and gently polish the high spots. You might want to rough up the inside edges of the belt slots a little bit, to knock off the gloss from the dressing, which can make a new holster pretty squeaky. Remember not to go crazy here—a little goes a long way. The goal is not to remove a bunch of leather, but to polish and smooth it. Did I say go slow and easy? Yes, do that.
3. The Plastic Wrap Method. Tightly wrap the gun in a few layers of plastic food wrap, and stuff it in the hoster, making sure that it’s fully seated. Let it rest for a few days, maybe even a few weeks, to gently stretch things out and shape the leather. Check the fit every day or two, and add a few more wraps as necessary to increase the stretching. If you wrap the gun well enough, you might be able to work it in and out (as in the Elbow Grease Method) to help accelerate things. It will also make things go faster if you wear the holster, because that helps with the stretching as well.
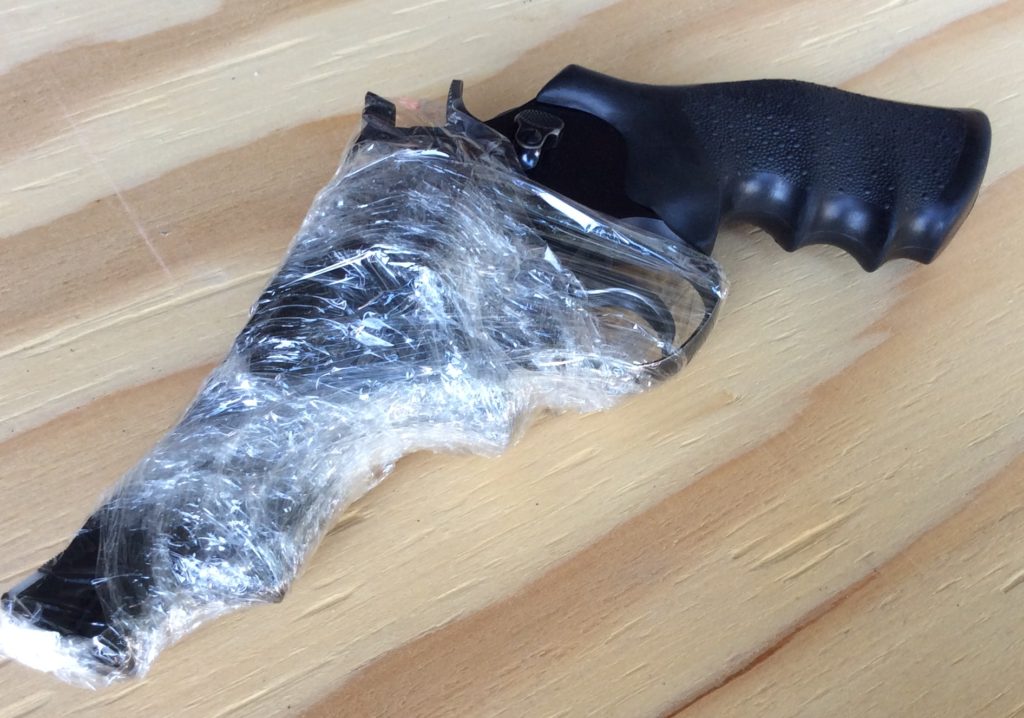
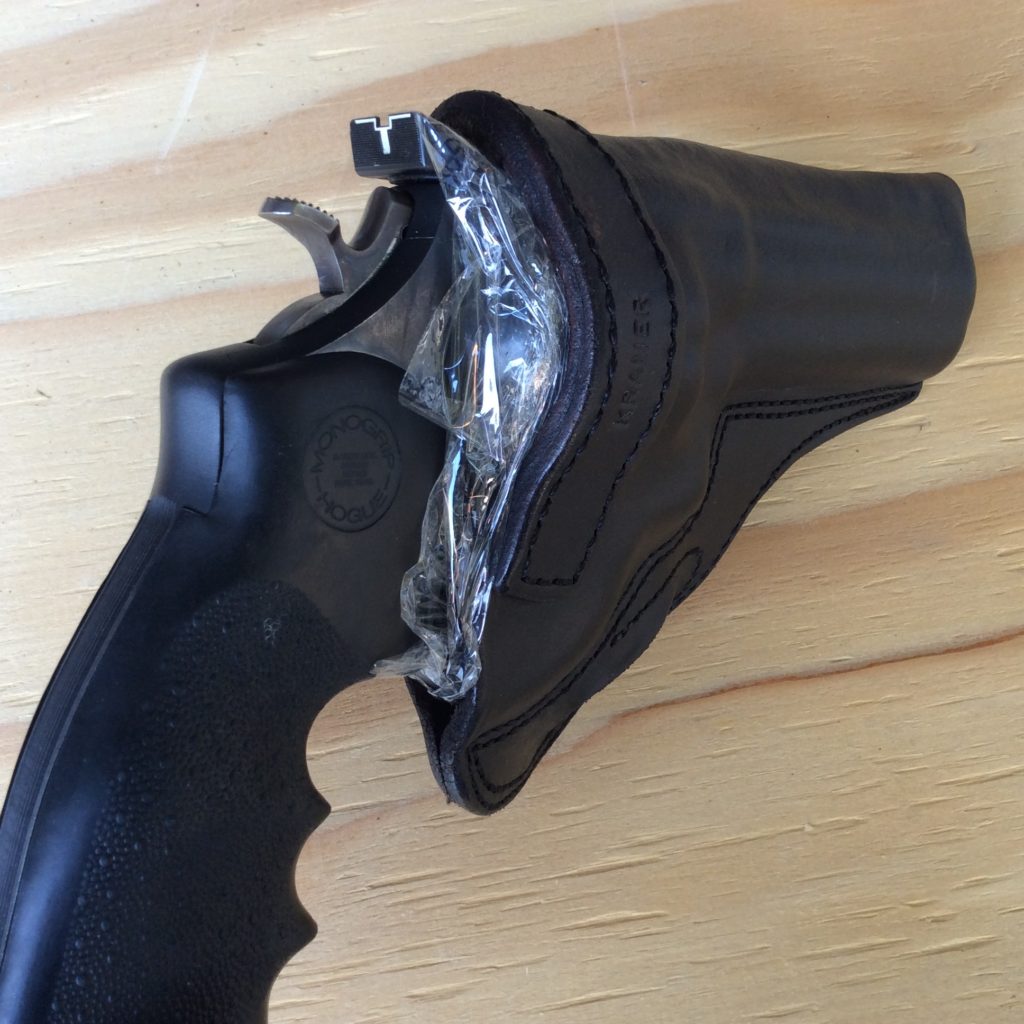
I’ve used this method to good effect over the years. You don’t need to put a lot of wraps around the gun—maybe just 3 or 4 to start, and increase as required, checking often;
4. Better Living Through Science. Use a product designed for the job. For decades, shooters hosed down the inside of the pouch with silicone spray because they had it on hand for their boots and other outdoor gear. It’s not the best thing for the job though, and if you use too much of it, you can ruin the leather.
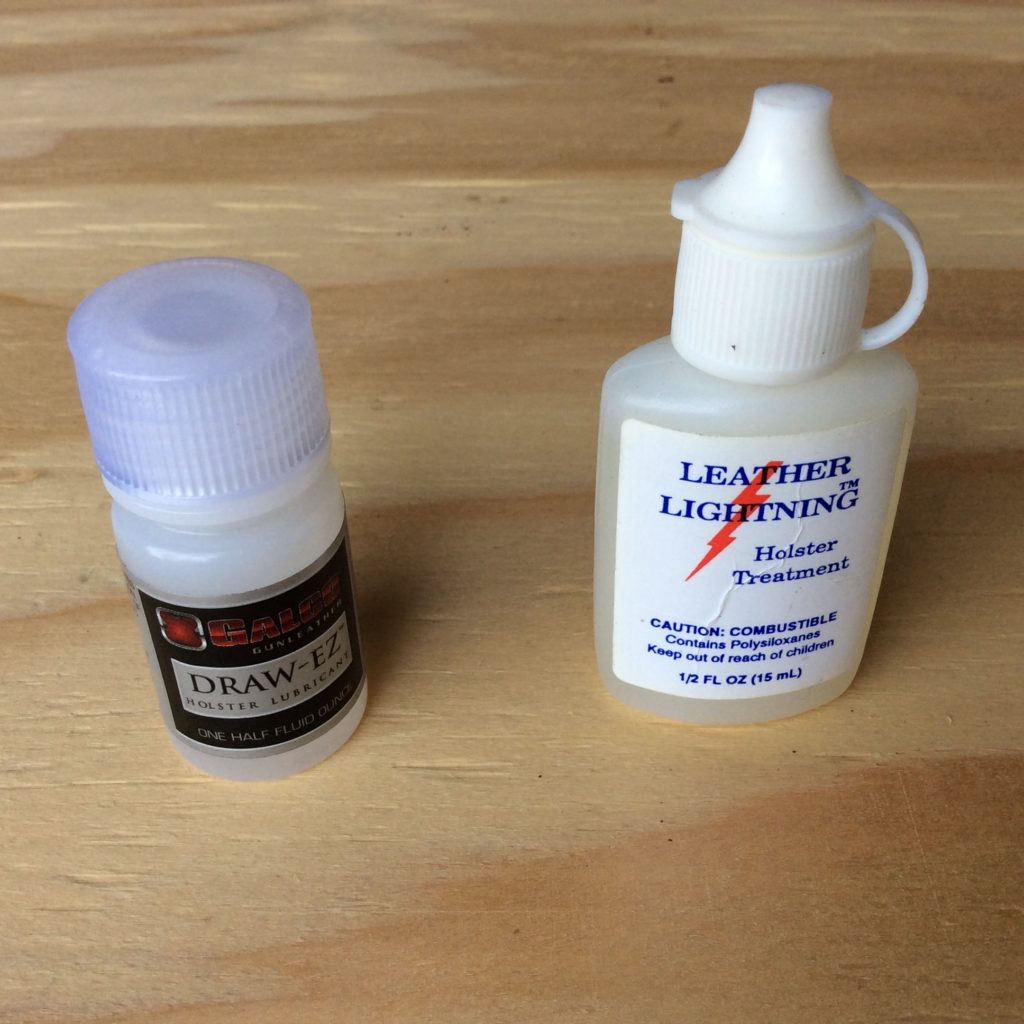
Instead, I would suggest one of two products: Mitch Rosen’s Leather Lightning, or; Galco Gunleather’s Draw-EZ. These products are designed to reduce friction without softening or harming the leather, and they both work great. Neither product soaks into the leather—instead, they remain on the surface. The formulations are safe for the leather and your firearm’s finish as well.
To apply, put a drop or two on a fingertip and rub it into the inside walls of the holster, paying special attention to the areas where the contact/friction is highest (look for the shiny spots, or the places where the grain is being scraped). Areas around the trigger guard, the sides of the barrel, the sight track, or the rear of the cylinder are likely spots, but let the leather tell you where to apply it. You don’t need to put much on—maybe two to four drops—to make a dramatic improvement.
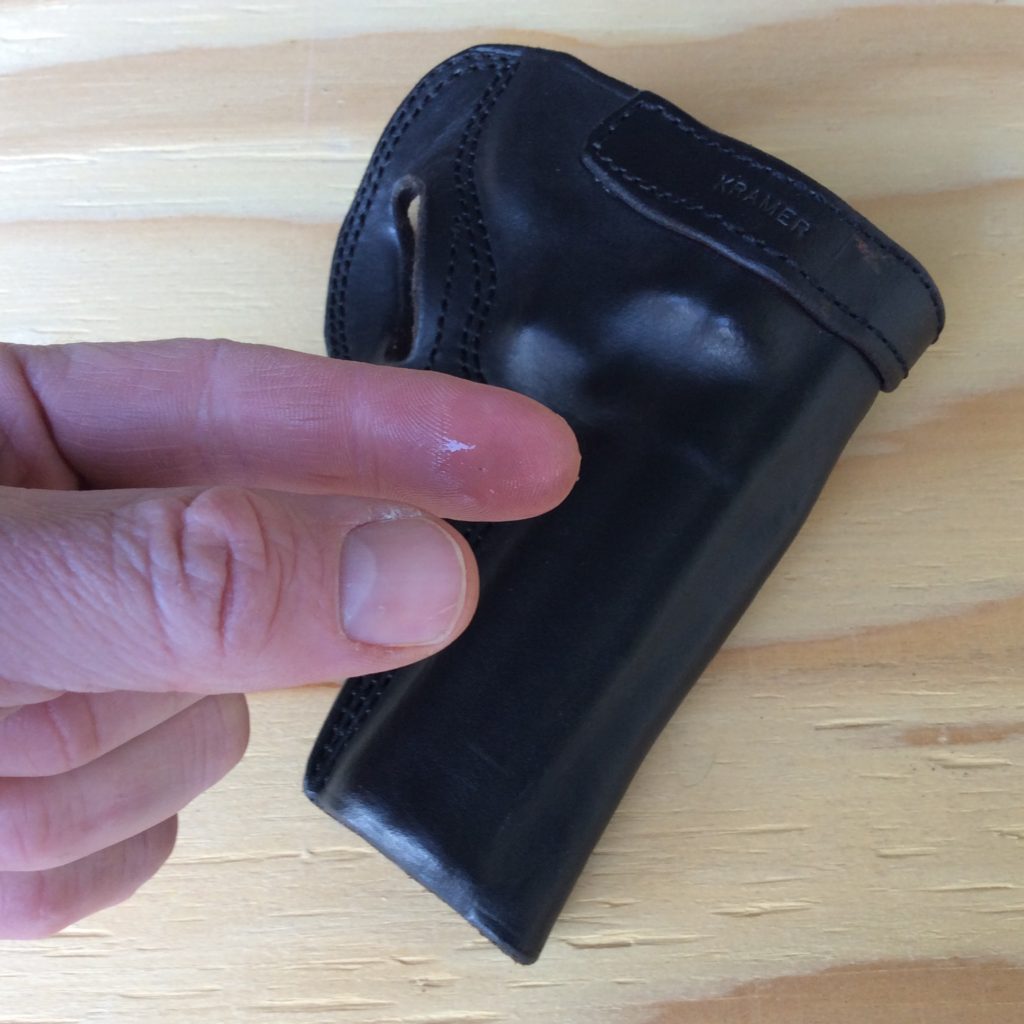
After rubbing in the drops, start working the gun in and out of the pouch. You should note an immediate and dramatic improvement, but if you need to, you can go back and rub in another drop on the stickiest contact points.
I’ve had holsters where the fit was so tight that I nearly dislocated my shoulder trying to get the gun out. A few drops later, the gun started coming out smoothly. I don’t know what’s in this stuff, but it’s magic. Maybe they harvest unicorn tears or jackalope spittle? Whatever it is, it works.
Good to go
A quality leather holster doesn’t come cheap, so it’s important that you don’t ruin it from the start. The horse trough might have worked for Skeeter and Elmer, but there’s better ways for today’s RevolverGuys to git ‘er done.
If you have a tight rig, use one or more of these suggested methods to break it in. They’ll get you going without damaging the leather, and your holster will remain in good shape to serve you for many years to come.
Having built & sold several thousand holsters, a properly built holster should need very little in the way of “breaking in.” Put your a new holster on a sturdy belt , begin drawing and holstering the gun. 50 to 100 times… this doesn’t have to be done all at once.
Lexol, or neatsfoot oil, or even olive oil works well to soften any rough spots on the inside. Not too much, as you state so well, we want the leather to retain it’s shape.
Thank you Sir! It’s GREAT to hear from you in these pages, and we appreciate you sharing your expertise!
Thanks for your post, it’s good to read a write up by an American craftsman and their workmanship.
I spent over 40 years doing mechanic work and now in my retirement, I am looking for the natural things that America has to offer, I’m talking about leather and wood working.
As a mechanic I repaired things that were already designed, casted, machined and built for service.
Wood and leather products can also be designed and built but there’s also a route for the creator, the visionary and craftsman who mold and build with their hands for young and old admirers.
Thanks and God Bless America!