Once in a while, a RevolverGuy finds himself with a cocked revolver that needs to be safely decocked.
The reasons for this could vary. Maybe the Range Safety Officer has called for a cease fire, or maybe the animal has moved and you no longer have the shot. Perhaps you’re just getting tired, or you need to get that piece of hot brass from your neighbor’s self-chucker out of your shirt. Whatever the reason, it’s important to do it properly, so that you don’t negligently fire an unintended shot.
Step by step
Whether you’re shooting a single action or a double action revolver, here are the steps you need to follow to safely decock your revolver:
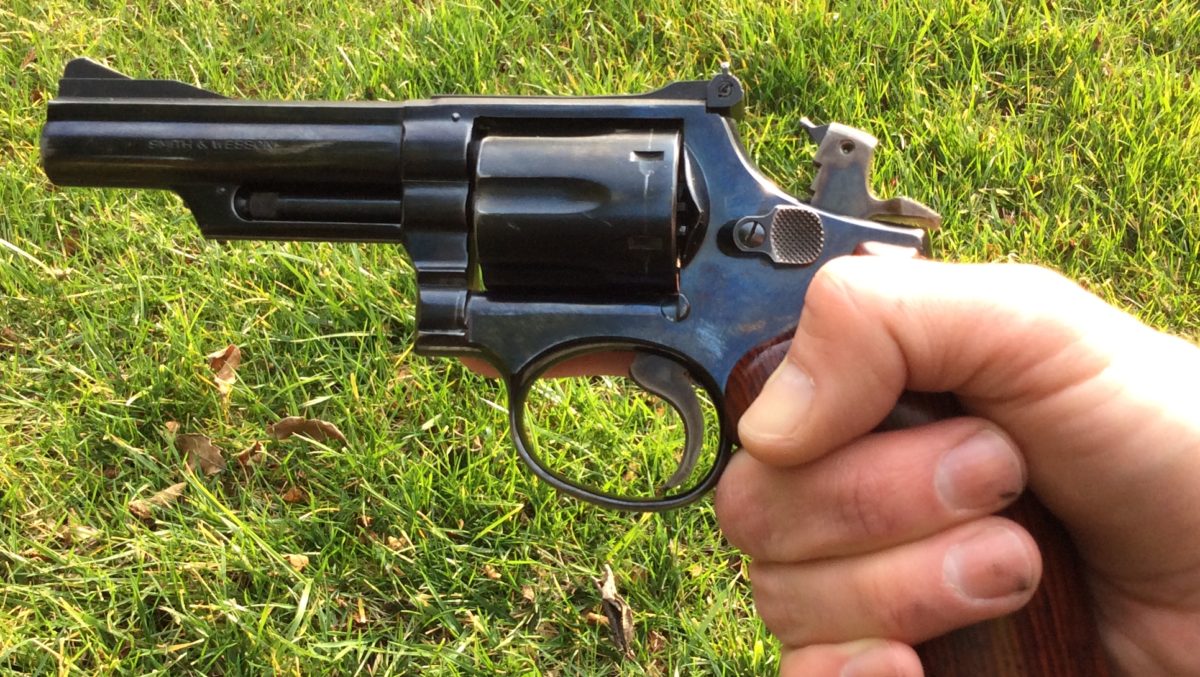
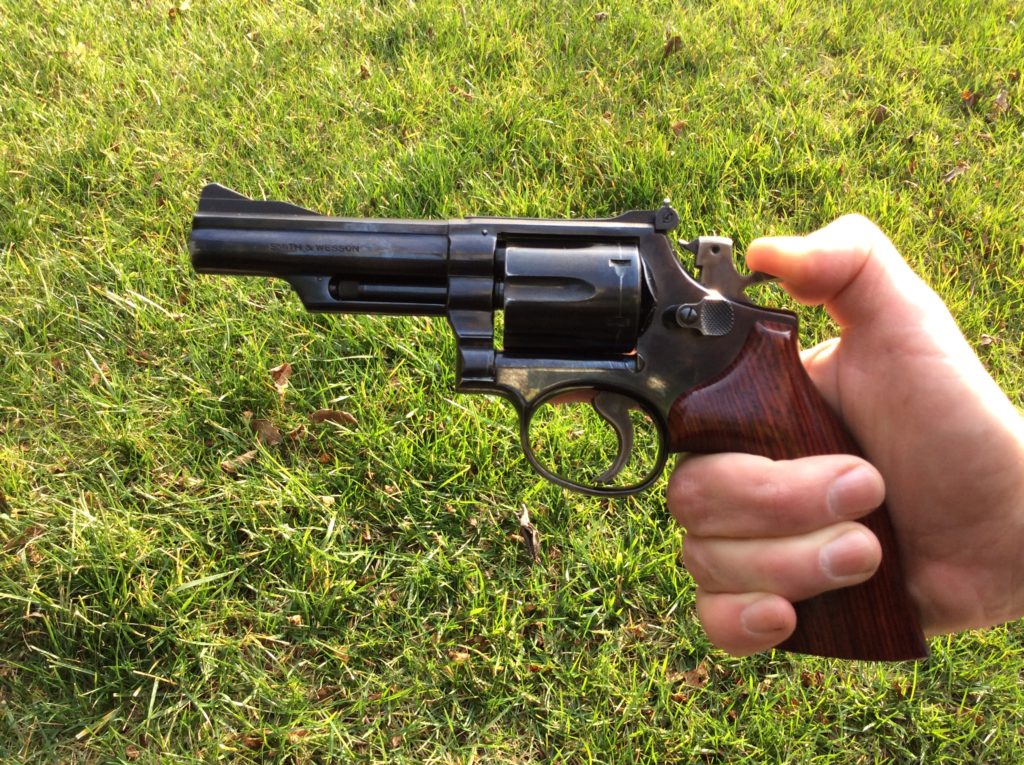
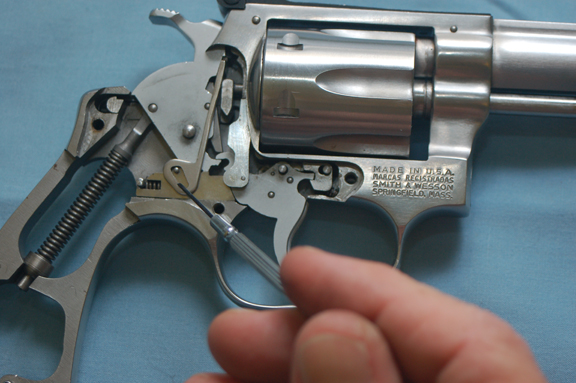
1. Point the revolver in the safest direction–and keep it there throughout the procedure–with your trigger finger resting on the frame of the gun, away from the trigger and trigger guard;
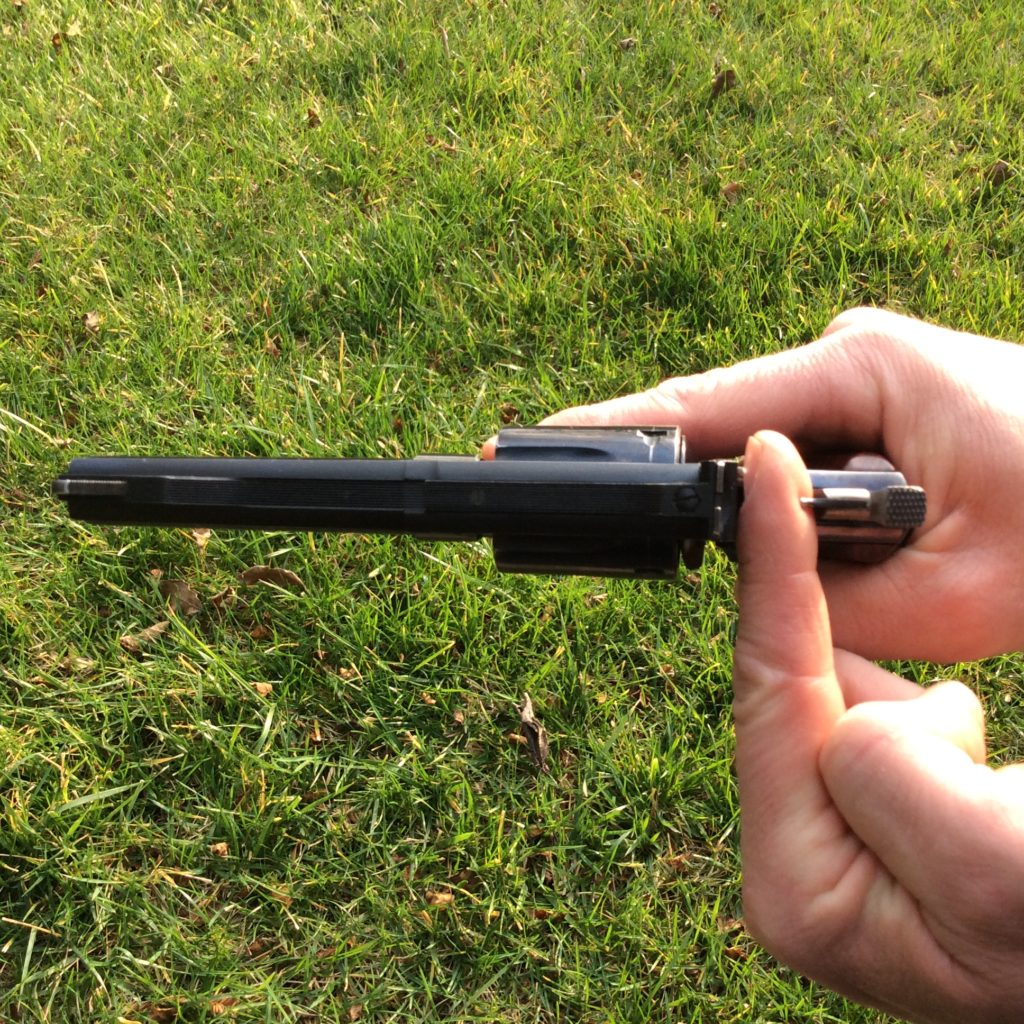
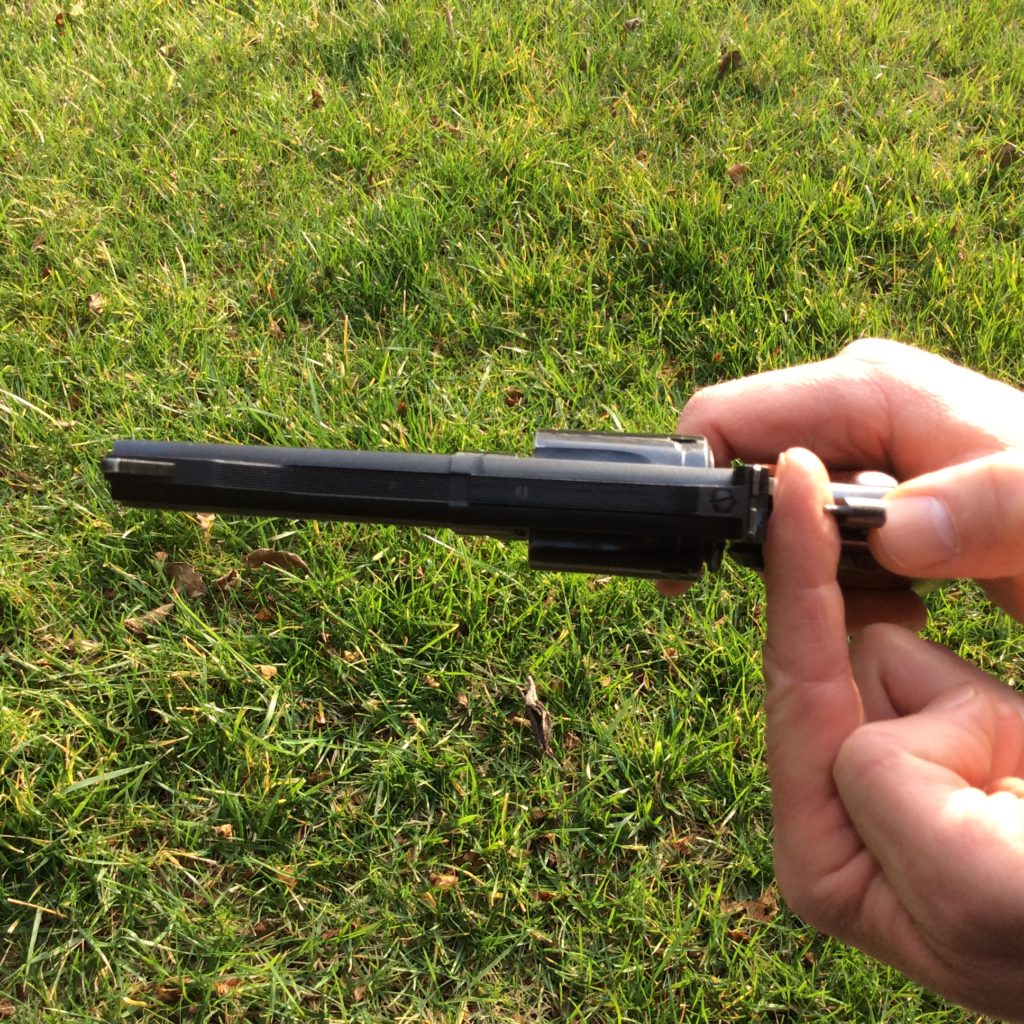
2. Place a weak hand finger or thumb in front of the cocked hammer, wedging it between the hammer face and the frame of the gun. The intent here is for the finger or thumb to block the fall of the hammer if it gets away from you during the decocking. Please note that if the hammer has a fixed firing pin, you should put your finger or thumb underneath it so you don’t get hole punched!
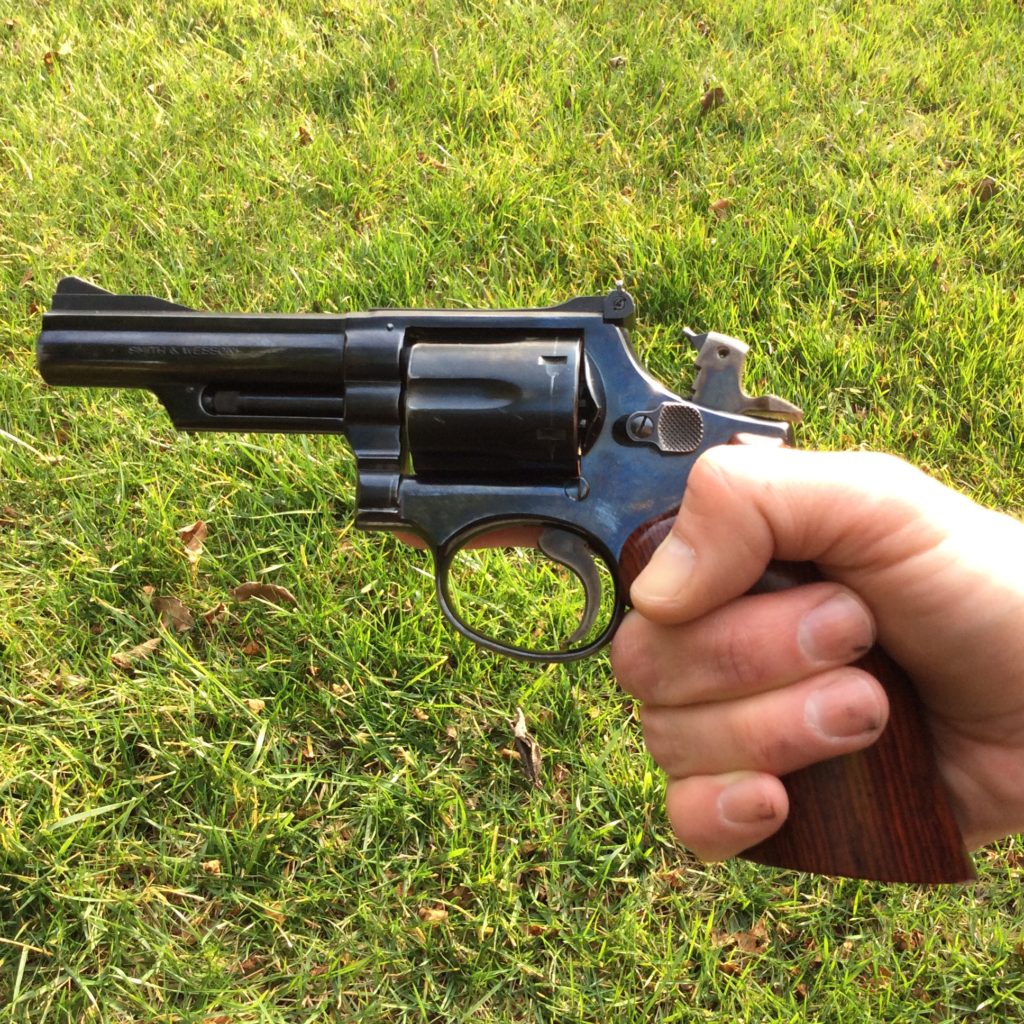
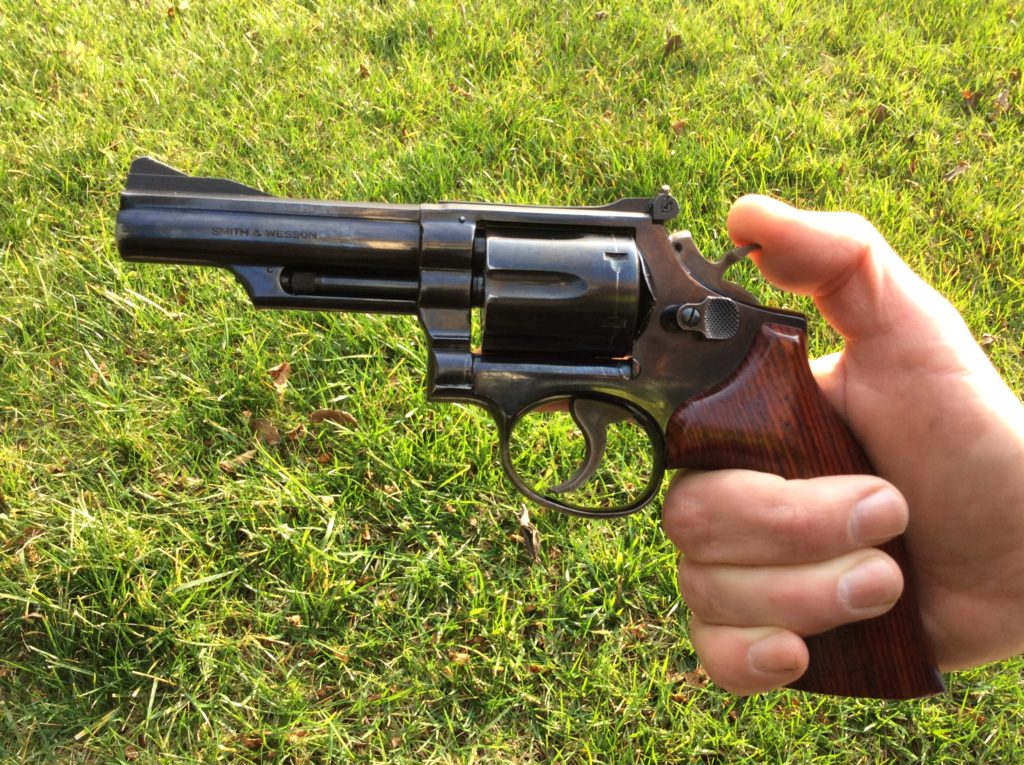
3. Place the thumb of your shooting hand on the hammer spur, to control its forward motion;
4. Move your trigger finger to the trigger, and press it until the sear releases the hammer to go forward. As soon as you feel the hammer is released by the sear, immediately remove your trigger finger from the trigger and put it back into its place on the frame, away from the trigger and trigger guard;
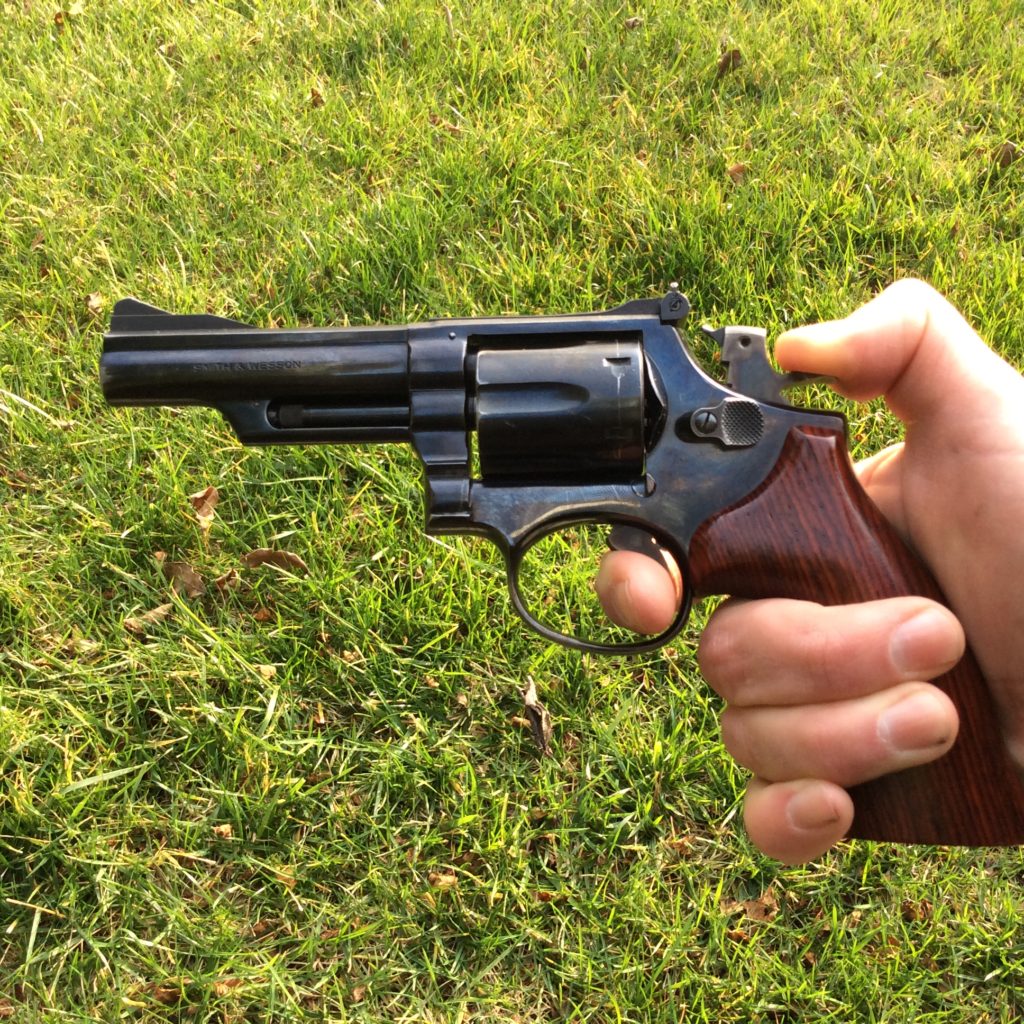
5. When the sear releases the hammer, allow it to move forward slightly, but restrain it with your shooting hand thumb so that it doesn’t travel very far. If you accidentally cock the hammer again, that’s OK–you can just go back to step 4, above, and try once more;
6. Ensure your trigger finger is off the trigger and on the frame, then move the blocking finger or thumb of your weak hand out of the way. Slowly lower the hammer to its forward resting position.
That’s it. You’re done.
A common mistake
The procedure is really simple, but there is one common mistake that you have to watch out for–it’s absolutely critical that you immediately remove your finger from the trigger after the sear releases the hammer to move forward!
If you continue to press the trigger as the hammer is lowered, then the gun thinks that you want to fire it. If you lose control of the hammer and it strikes with enough force, the gun can fire. By removing your finger from the trigger as soon as the hammer is disengaged from the sear, the safeties inside the gun (if present) can work to prevent the firing pin from reaching the primer, even if you lose control of the hammer as you lower it.
The classic scenario for this kind of negligent discharge begins with someone who wants to cut corners and lower the hammer using only the shooting hand. They put the shooting hand thumb on the hammer spur, pull the trigger, then ride the hammer forward as their finger continues to press the trigger. If the hammer slips away from the thumb, then the gun will probably fire. We see all kinds of television and silver screen heroes do this nonsense, but please don’t do it for real. Use two hands as described above, with a blocking finger as a backup safety (this is especially critical for guns without the internal hammer block or transfer bar safeties), and don’t hold the trigger to the rear as you lower the hammer!
Nuts and bolts
As we alluded to earlier, most external hammer revolvers of modern design incorporate internal safeties that prevent the gun from firing unless the trigger is held to the rear. Some older designs (such as the ever-popular Colt Single Action Army–or 1873 / Peacemaker / Model P–and its clones) don’t have these features, but most of the external hammer guns you’ll find for sale today are equipped with them.
There’s some exceptions out there (like the base pin system on the Cimarron guns), but most revolvers use one of two primary methods to accomplish the goal of preventing a discharge unless the trigger is held to the rear. For simplicity’s sake, we’ll call these the “hammer block” and “transfer bar” methods.
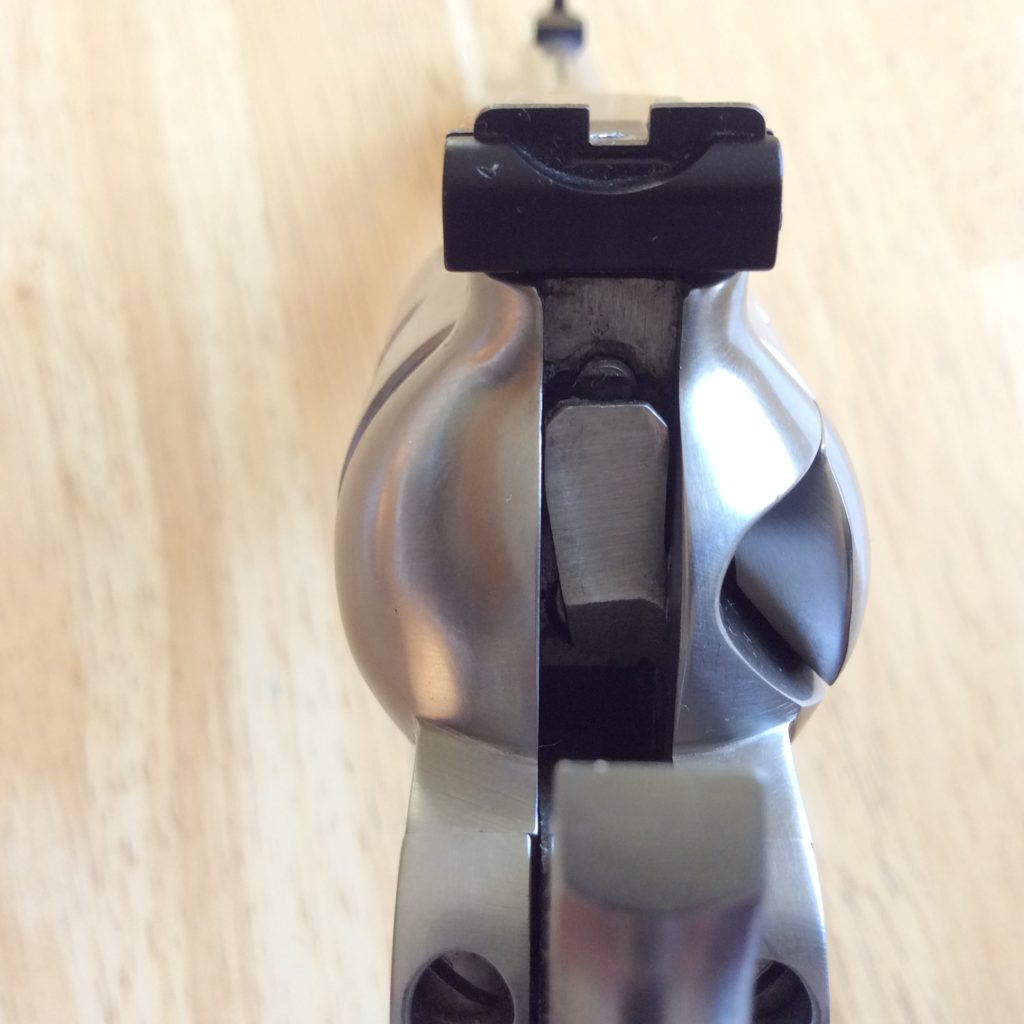
In the hammer block method, there’s a bar that prevents the hammer from moving fully forward unless the trigger is pulled and held to the rear.(1) The blocking piece moves out of the way when the trigger is pulled and held back, which allows the hammer to strike the frame-mounted firing pin and transfer the energy necessary to crush the primer and start ignition. On models with hammer-mounted firing pins, holding the trigger to the rear moves the block out of the way and allows the hammer to travel fully forward so that the nose of the firing pin can extend through the breechface and contact the primer.
Some variation of the hammer block method is common on Smith & Wesson revolvers with exposed hammers, earlier double action Colt revolvers, some early-model Charter Arms revolvers, Rossi revolvers, and others.
In the transfer bar method, when the trigger is pulled and held to the rear, a bar rises into position between the hammer and the frame-mounted firing pin. When the hammer strikes this bar, the energy is transferred to the firing pin, which moves forward to crush the primer and start ignition. If the trigger is not held to the rear, the transfer bar remains in a lowered position, and the hammer is unable to contact and transfer its energy to the firing pin.
The transfer bar method is commonly used on “New Model” (post-1973) Ruger single action revolvers (and pre-1973 “Old Model” revolvers that have been modified with the free conversion kit), Ruger double action revolvers, Taurus revolvers, later production Colts, and the Traditions single action revolvers made by Pietta, among others.
No surprises, please
So, now that you know the proper steps for decocking an external hammer revolver, make sure you do it the proper way and teach others to do the same. That’s how a RevolverGuy operates!
It’s not hard to do it the right way, and it could save you from a world of heartache caused by a shortcut.
*****
Endnotes
1. Sharp-eyed RevolverGuy SHBond357 clarifies that the hammer block is actually designed as a backup safety to prevent the hammer from moving forward in the event the gun is dropped. A raised bump on the top of the rebound slide interacts with the base of the hammer to prevent the rebounding hammer from moving forward if the gun is dropped and lands on the hammer spur. In the event this system fails to prevent the hammer from moving forward (due to a structural failure of the parts), the hammer block will still prevent the hammer face from moving forward and touching off the primer. In normal operation, the hammer block doesn’t play an active role in preventing the hammer from moving forward—it’s just there as a fail safe.
All good points. I cringe every time I see some actor decock one handed (I almost had to stop watching Person of Interest because Jim Caviezel was raising my blood-pressure too much).
I have found that the frame on some guns (Ruger SP101’s in particular) can be a bit sharp on the frame to either side of the hammer, while other guns can be a bit sharper on the hammer (either because of a hammer-mounted firing pin or just sharp edges). That makes the choice for using the thumb or finger a little dependent on the gun for me, since it is nicer to have the finger/thumb-nail against those sharp edges. Of course, some careful work with a file or stone can also correct that, so I’ve gone that route on my SP101’s.
One question: you indicate that most non-Rugers use a hammer block, but I was fairly certain that most revolvers use a transfer bar and Smith’s are the only ones that use a hammer block. I know my Charter, and my dad’s Taurus, as well as the new Colt Cobra and King Cobra use transfer bars, so is this something that varies depending on the age of the gun?
Apparently it must! The old Charter Arms Undercover used a hammer block, and you can see it in the schematics. I don’t have any time on the new Charters and was unaware they used a transfer bar. Also, I think you’re correct about the Taurus. Thanks for catching that.
The older Colts are the ones I was thinking of—the “real” Colts, from their glory days. They incorporated the “positive” lock, introduced on the Police Positive. The positive lock was a hammer block system, and was used up through the Pythons.
I didn’t recall that the (original) King Cobra used a transfer bar, but that makes sense, since it’s cheaper and easier to manufacture than the positive lock. I didn’t keep my (original) King Cobra more than a few months, because it was a piece of junk, with endshake and ignition problems that even the Colt warranty station couldn’t fix. Since I had no need for a 3-(sometimes 4)shooter, I dumped it and bought a 686, never looking back. Based on Justin’s review of the “new King Cobra,” (why do they do this to us?) it looks like they’ve managed to put those darker days behind them. I’ll update the article to reflect the newer colts are transfer bar guns. Thanks again.
Some folks are fond of pinching the hammer spur with the support hand thumb and index finger, but I prefer to put a digit in front of the hammer. If my guns had sharp edges like yours though, I might pinch the hammer to avoid getting sliced, at least until I could stone those edges.
I’ve read of pinching the hammer, and I believe that is even how CZ recommends decocking 75-series pistols in their manual. Having lost control of a couple hammers (on unloaded guns) that way when I was young (before anybody gets too worked up, these were responsibly supervised situations at Hunter Education and at home), I have been very leery of trying it again. Granted, I probably have better hand strength now than I did at 12, but I still like the approach you show here much better.
Additionally, Jim Caviezel’s character was carrying a Sig P226, which typically sports a hammer-drop safety, making it doubly stupid to manually lower the hammer.
My first academy taught the “syringe method” which is basically what you show here, but with your support hand fingers above and below the barrel, thumb under the hammer, like holding a syringe.
That’s a new one for me! Sounds like a pretty neat way to do it. Thanks for sharing that.
Actually went on a call where a woman had cocked her revolver due to a “scary noise” and couldnt figure out how to lower the hammer.
Haha! I believe it!
A friend of mine who’s a patrol sergeant tells me that one of his younger officers called him out because he couldn’t figure out how to open and unload the revolver he had confiscated from a suspect. I think some of these things we take for granted as RevolverGuys are at risk of becoming a lost art among the masses.
Good method, one I will practice with an empty gun.
Safely uncocking a revawver is one section I use in CCH classes, the point being ‘don’t cock your revawver in a defensive situation.’ You may go cock-bang cock-bang cock-bad-guy-falls-down-or-runs-away-and-you-don’t-need-to-shoot-again; now you’re standing there with adrenaline squirting out of bodily orifices, shaky sweaty hands, scared spitless, with a super light trigger on a loaded gun. Then I explain that you won’t likely be thinking in a linear fashion about getting the gun safely uncocked–and I go through step-by-step the whole process Mike wrote about, demonstrating with my gun. Most seem to get the idea.
I can say, with unimpeachable authority, that IF you are doing the ORF qualification, and at the 25 yard line you cock your spurless-hammer revawver for those long(er) shots, and IF the spurless hammer slips from your thumb while the trigger is still back (gotta gently pull the trigger to start that hammer back, so you can get your thumb on the front of it to finish cocking it, don’cha see), well, your premature shot CAN end up striking the top of the berm–all of which is bad enough, but it’s worse when the rangemaster is standing behind you when it happens. Good illustration on why to not try to cock a spurless hammer, even when you might need that little bit of extra accuracy because it’s hard to hit stuff at 25 yards.
And this happened to a guy who has handled all kinds of firearms for over 50 years. Ace
I think I know that same guy. He’s the one who backed his dad’s new truck into a concrete pillar in a parking garage a few decades back . . . he gets around.
Ha! Yes! In the early 90’s, I kept getting called to do that, too. Found that the recruit training had NO mention of revolver operation. I put together a roll-call training session on revolver operation and safety. Young’ens had no clue! ?
Great article. Cock the hammer and you are not going open the cylinder to unload until the hammer is down again. Need to know if you are around hand gu ns.
Why did the revolver get cocked in the first place, just shoot it double action, cock and decock in one movement.
BTW any method of decocking that doesn’t use the support hand to lower the hammer to the safe rest position is inherently unsafe.
I have a smith and wesson 357 highway model that will not decock. I have tried method described but when I pull on the trigger the hammer will not go forward. This is a double action revolver.
Sounds like you need to take it to a gunsmith, to be repaired. I sure hope it’s not cocked on a loaded chamber? If so, then EXTREME caution is necessary, here. You will need to wire the hammer back so that it cannot fall, during transport. Adding a block between the hammer and frame (tape or wire a pencil in place) wouldn’t hurt, either.
There’s obviously something wrong with it. Perhaps a worn or broken part, perhaps a bit of debris is clogging the action. To combat the latter, you might try liberally flushing it with a pressurized solvent, but I think the best course is to have a professional ‘smith inspect, fix, and clean it.
This is why I have disdain for single action revolvers for self defense. Having had to draw my carry piece more than once (a double action revolver) I understand how easily a mistake can be made under stress. Continuing well past the encounter. I don’t want to be trying to decock a gun in that frame of mind. But if the situation has warranted drawing it and it were a single action, it would be less than ideal to not bring it into battery if I was lucky enough to have the luxury of time to present it in the first place. So as much as I like them, I think they are inherently dangerous in such a scenario. That’s just my opinion, but I prefer to avoid trouble.
Mark, the hammer design on single action revolvers actually makes them easier to decock than DA revolvers. However, I agree that I’d rather not need to manually decock a gun following a self defense emergency, when I’m under great stress. That’s why I carry DAO snubs and don’t ever shoot my DA revolvers in SA mode. Thanks for reading.