The small defensive revolver is a compromise. In carrying one I have compromised some benefits of a larger gun, like capacity, ease of use. I have also sacrificed some practical accuracy that a larger revolver or pistol would afford. When my 640 Pro refused to shoot to point-of-aim with any load I tried, I decided this was not a compromise I could live with – I don’t want to have to rely on Kentucky windage when fractions of a second really count. So, I resorted to what those of us with non-adjustable sights sometimes have to. If you find yourself in this situation, you may find yourself filing your revolver’s front sight.
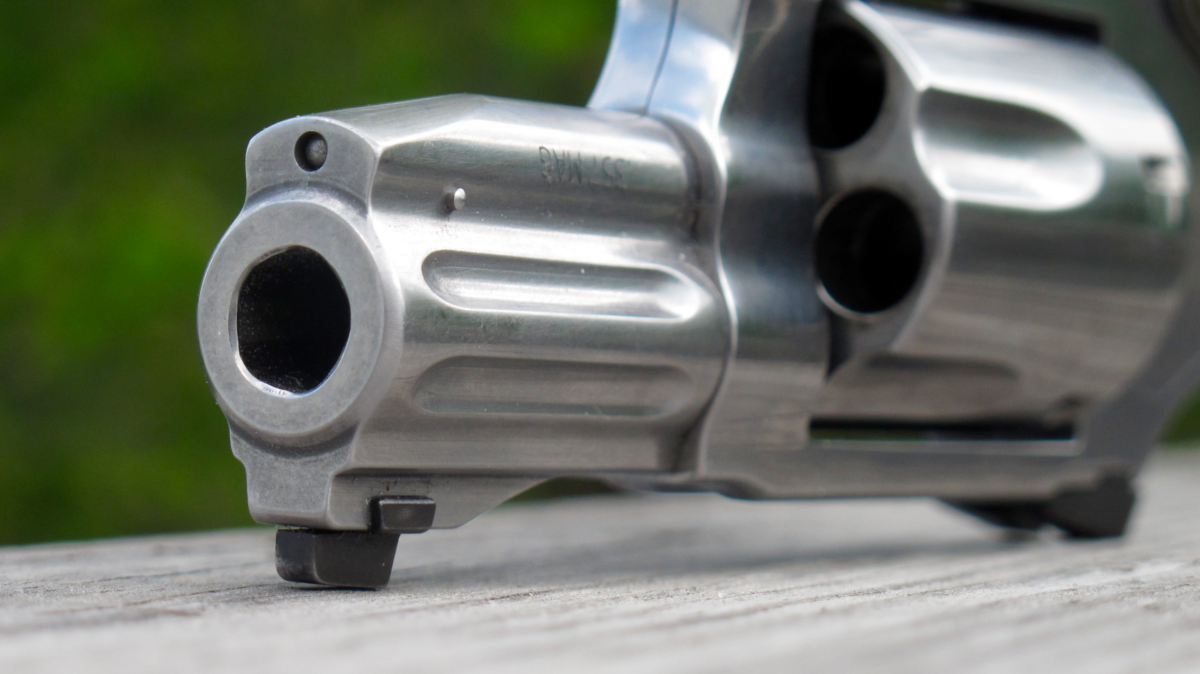
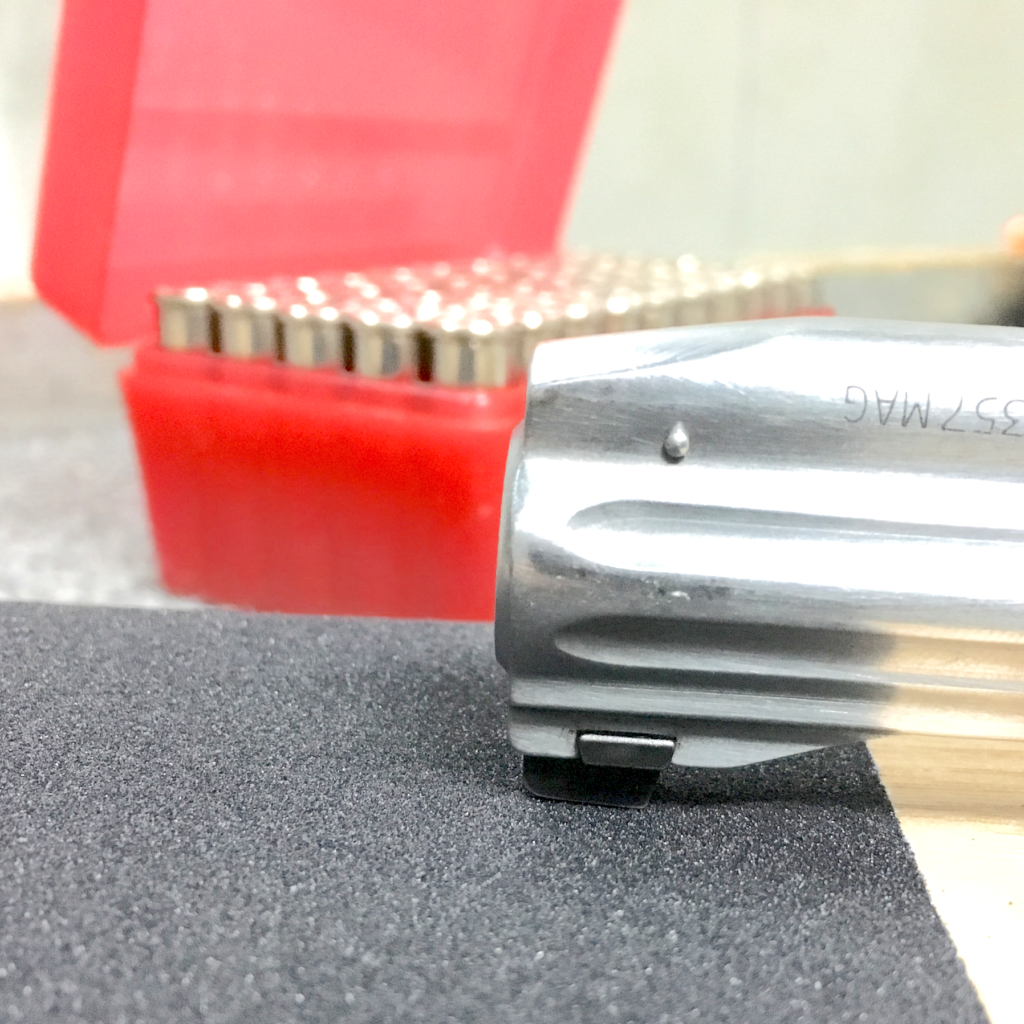
If you look at the above photo, you will notice that the front sight of the 640 Pro is significantly taller than the rear sight. There is a noticeable downward cant to the entire firearm, from muzzle to grip. I believe this contributes greatly to the 640’s tendency to group rounds low. Regardless, the remedy for a low point of impact is to lower the front sight, so I decided to file it down. This wasn’t a decision I made lightly, however. Before you do this, you may want to take a couple of things into consideration.
Should you file your revolver’s front sight?
Filing your revolver’s front sight can be a permanent alteration, so before we get into how-to, we should ask if you really need to file your sights.
Assess your revolver: I was pretty comfortable filing the sight on my 640 Pro. Because it is dovetailed in, I could always replace it if things went badly. If this were a revolver with an integral front sight, I would have thought about it a little harder before proceeding. For revolvers with pinned or dovetailed fronts, you can be a bit less reserved, though a new blade will cost a few dollars if you screw it up.
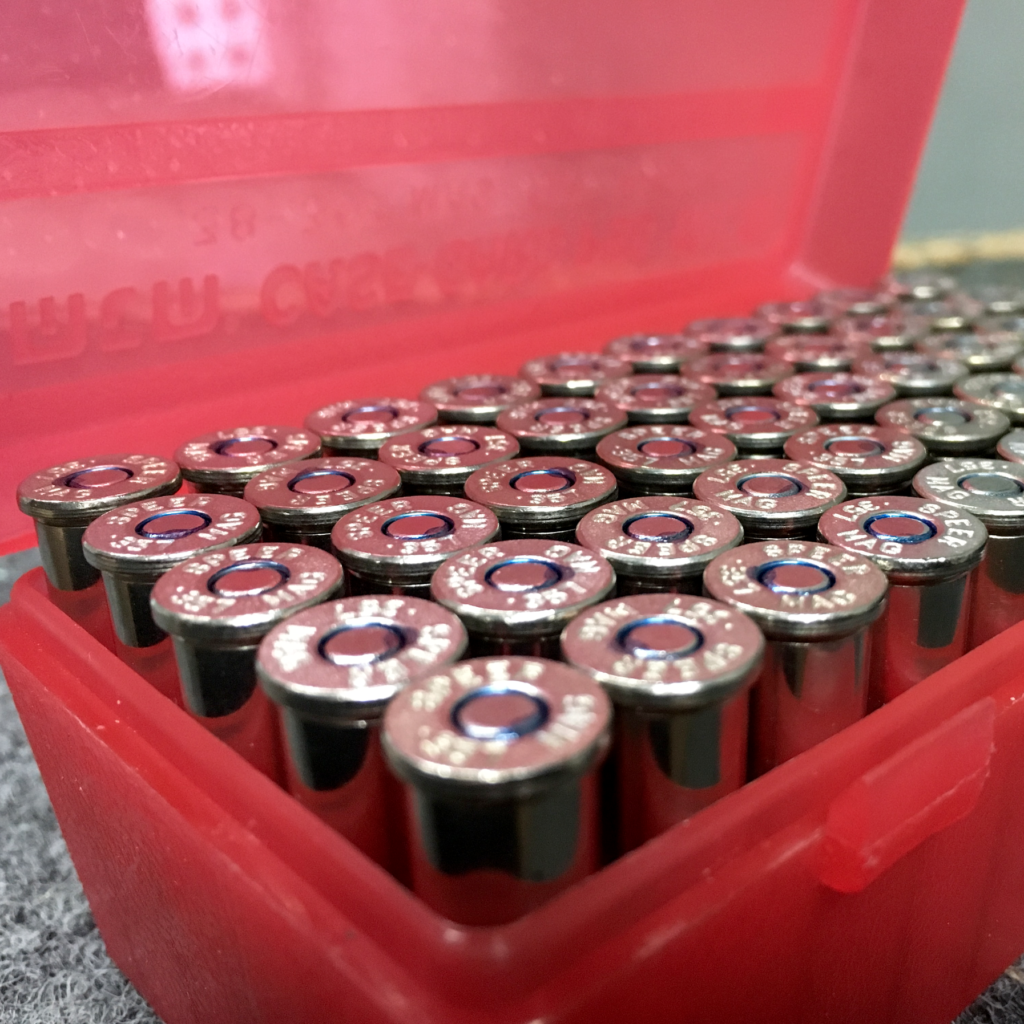
Select your duty/carry ammunition. Because you are zeroing the gun to a particular load, you should be sure of what that load is before you permanently alter your gun to match it. There are quite a few criteria you can use to decide which ammo is for you. Some of these criteria, in no particular order are: recoil, bullet performance, reliability (in YOUR gun), and muzzle flash. Since this modification is done in the name of accuracy, you should also weigh consistency. Though the bullet may not hit point of aim, it should at least group consistently with your gun.
Assess the availability of your carry ammunition. Before you permanently modify your gun to work with a particular load, think about its availability in the long term. A fifty-round box of ammo won’t last forever, after all. You may want to ask a few questions of your ammunition. Does the manufacturer have a good reputation in the industry? Has your carry load been widely adopted by law enforcement? If the answers are “yes”, you’re on the right track.
You can insulate yourself somewhat from this factor by laying in a suitable supply of your carry ammunition. Before I modified my 640 Pro I made sure I had at least 250 rounds of my carry ammunition in reserve. At around $1.50/round this is a very costly investment and it didn’t happen overnight. I would buy a box or two whenever I ran across it and could afford it.
Filing Your Revolver’s Front Sight
Once you have decided that this step is for you, proceed to procuring the necessary tools, supplies, and range access. What followed is how I filed my front sight. I’m sure there are other ways to skin this cat, but this got the job done.
Important Note: I did this at the range where I could test the point-of-aim vs. point-of-impact frequently. I do not recommend filing your revolver’s front sight without being able to test the results. As such, you will probably need to find a range with a table or shooting bench from which to work.
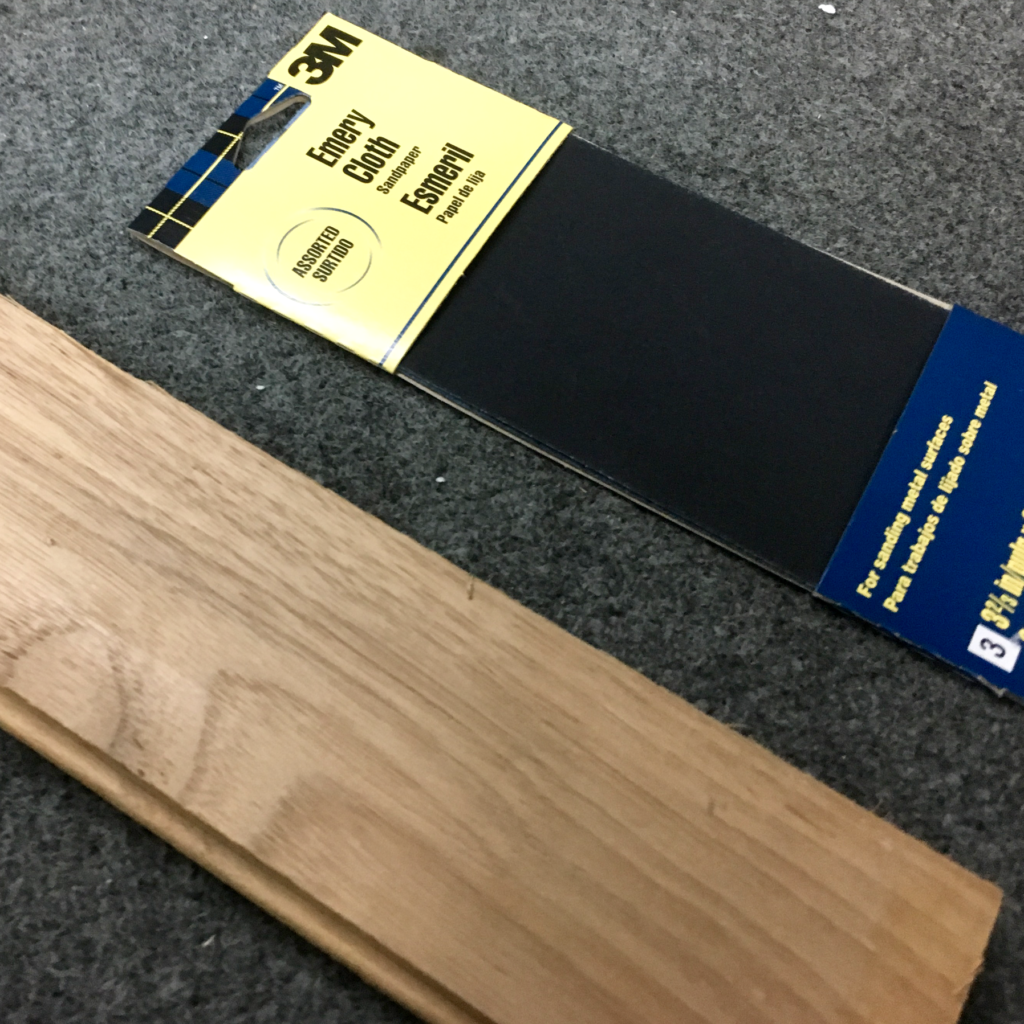
Step 1: Gather your supplies. I didn’t actually use a file to “file” the front sight. Instead, I used 3M Emery Paper. The three-pack comes with course, medium, and fine grits; the “fine” sheet was the only one I used. I also used an oak flooring plank. I will explain how this was used in a moment. You will also need a target. I also recommend a sandbag or other shooting rest – you want to remove as many variables as possible when zeroing your gun.
I grabbed 50 rounds of my carry ammo. I only ended up using 29 rounds total, including a “before” confirmation string, and two “after” strings. Make sure you bring enough with you when you go because you will have to go slowly and test your point of impact often!
Step 2: Confirm your point-of-impact. Before doing anything I fired a full cylinder from a sand-bagged rest, at the distance at which I wanted to set my sights (10 yards). I wanted to be absolutely certain where the rounds were impacting before I began modifying. You don’t want to find yourself “chasing” the POI.
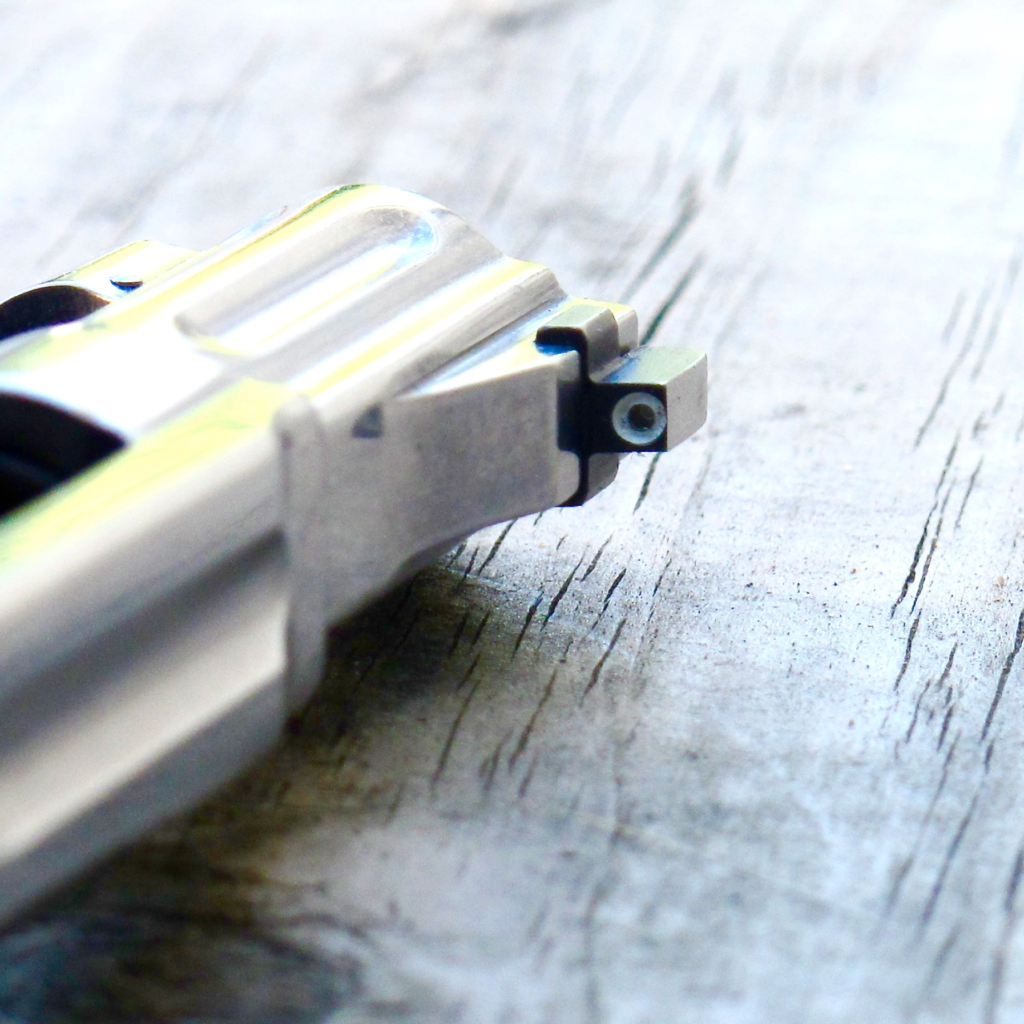
Step 3: Remove a small amount of material from the front sight. To actually file the sight, I first wrapped the emery paper around the oak plank. When I was ready to remove material from the blade I moved the cleared gun over the emery paper, NOT the other way around. I set the gun onto the plank, top down. Pressing down on the entire gun, I pushed it across the filing surface. This keeps the gun level and ensures that you don’t inadvertently round off your sights, or make them higher on one side than on the other. You still want a nice, crisp, LEVEL sight picture.
Step 4: Test. After filing 3-5 strokes, take a couple of shots to confirm your point of impact. Unload and clear your gun, and repeat the filing process. You will probably notice that a very small effort results in a big shift in the point of impact. GO SLOWLY AND TEST OFTEN!
Step 5: Repeat. I went through seven repetitions of “file, test” before the point of impact had moved to my satisfaction.
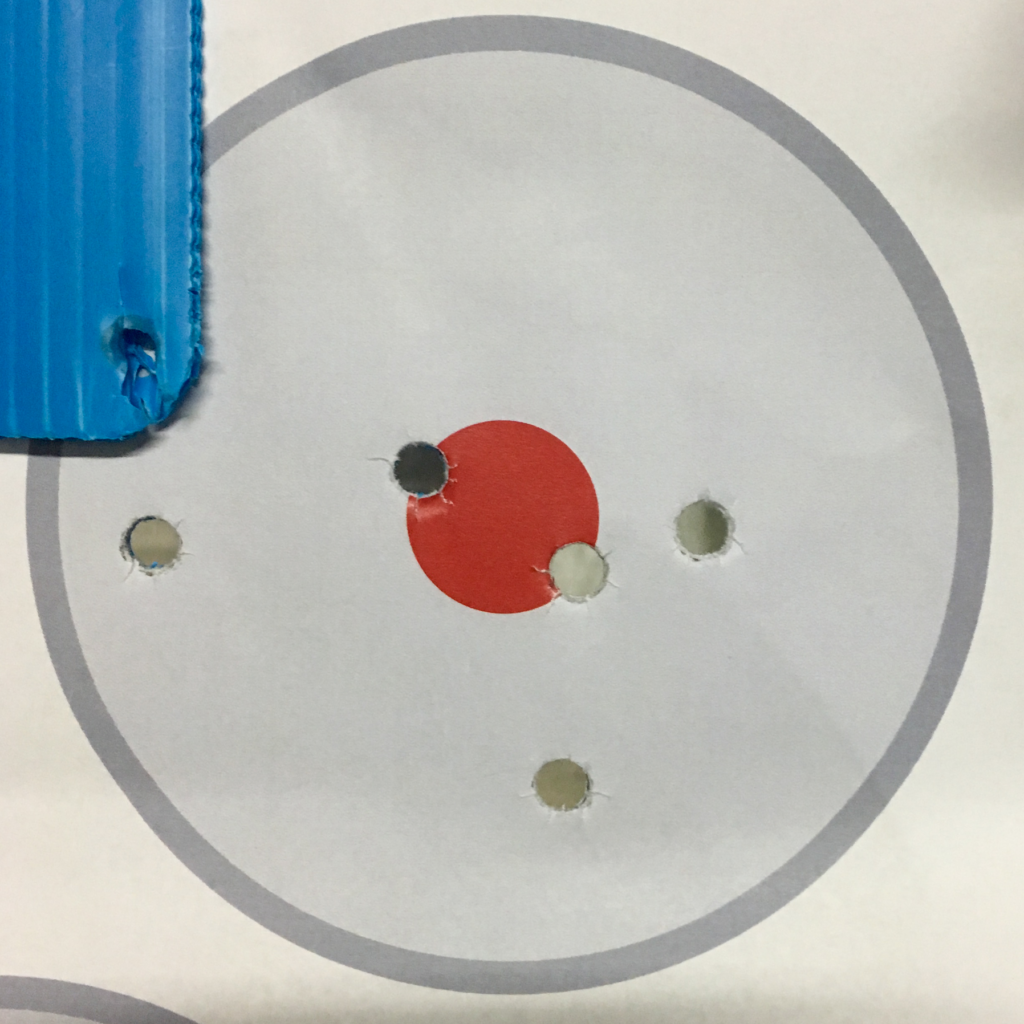
Step 6: Confirm. After I had finished filing, I confirmed the shift in zero by firing two 5-shot strings. The first was from a sand-bagged rest. The second was at the same distance (10 yards), but a rapid-fire string from the offhand. My results from this string are in the photo below. Notice that the point of impact is still a generally a hair low (excluding that one that got away from me). This is because my front sight contains a tritium vial and I was hesitant to go any lower.
Step 6: Re-Finish . After filing your revolver’s front sight you will probably want to refinish the metal. I haven’t decided how I want to do this yet yet but there are plenty of options: spray paint (with a very careful taping job), cold blue, touch-up paint, etc. This is important to protect the exposed metal from rust, and to prevent harsh glare of the bare steel.
The bottom Line
Though not perfect, my front sight has now been filed and my point-of-aim and point-of-impact are now much closer to each other. This is a bit of an involved project, requiring an hour or so, some ammo and some patience, but it’s totally worth it. I never liked having to “aim high” to get hits and this neatly solves that issue.
Good job. I’d like to see a follow up on the finish.
Here is how I was taught to do it:
It is important to accurate determine the Center of Impact or CI, rather than just “eyeballing” it. Measure the x, y coordinates of not less than 5 shots, then average them.
Then measure the distance and direction of the CI error relative to point of aim.
Use the expression X=RE/D to determine how much the front sight must be adjusted, where X is the amount of sight correction needed, R is the sight radius, E is the impact error and D is the target Distance. ALL MEASUREMENTS IN INCHES!
With calipers measure the distance from the bottom of the barrel at 6:00 to the top of the front sight.
Point of impact is more greatly influenced by bullet weight than velocity. This is because a revolver held in the hand recoils in an arc as a moving pendulum. Loads having a greater recoil impulse and longer bore time ( heavier bullets) leave the muzzle at a higher angle of departure than loads producing less recoil impulse and having reduced bore time ( lighter bullets). That is why it is vital to select a specific load before cutting on your front sight. If the gun hits high, try a lighter bullet. If your old wheelgun was targeted at the factory with 158-grain lead ammo and impact is 6 inches low at 25 yards with your 130-grain Ranger RA38B, then you will need to cut.
Measure twice, cut once. If you don’t have a Bridgeport mill, CAREFUL hand work will do.
Protect the top strap with two thicknesses of Scotch Super 88 electrical tape. Clamp the revolver frane, with cylinder and yoke assembly renoved, in a padded vise. Rest the flat handle of your safe-edged mull file firmly on the top strap to be sure tour file cut is square and level across the top of the front sight. Try only 5 file strokes at first, then measure with calipers to compare with your original measurement. Repeat as needed to attain the final depth of cut.
To correct windage, if you are not skilled in application of a babbit bar to turn the barrel, rest the safe edge of your mill file on the barrel at the base of the front sight and carefully reduce the front sight blade thickness, cutting on the side toward which you want the point of impact to move. Deburr the cut edges with a flat India stone, then decrease with acetone and black the adjusted surfaces with Brownell’s Dichropan.
Thank you Sir!